The Taskmaster (aka Chris Ross) explains what to do, how to do it and why for bonsaists in the San Francisco Bay Area.
JanFebMarAprMayJunJulAugSepOctNovDec
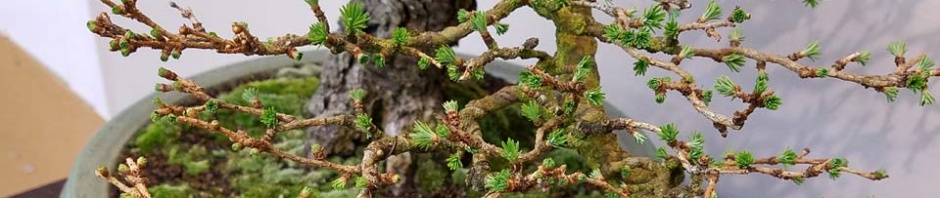
February
February for bonsai artists in the San Francisco bay area microclimates is a very busy time. Repotting from now until the buds open is prime time for all the deciduous trees. After the buds open, it’s too late. People who really know what they’re doing can get away with a bit more on trees that they’re familiar with, but the best advice is to get it all done before the buds open. Young trees should be repotted every one or two years, certainly no more than three years, so that the roots can be directed and refined, and the trees will be rejuvenated so that weaker branches are less likely to die back or dwindle. Any recently acquired tree should be repotted so that you know what the roots are like and that it’s all properly done, healthy, and secure. Repot anything that didn’t thrive, anything that may have been a little slow to grow or slow to drain, anything that deserves a better pot, a better position or angle, an escape from nursery containers and buckets, or just a second chance. You should even repot the trees you’ve decided to get rid of, so they’ll look better and be worth more. Some people keep a few very cheap bonsai pots around, easily found at sales and auctions, for just this purpose.
First clean, screen, and wire an appropriate new pot. Cut deeply all around inside the edges of the old pot, ideally with a small curved root saw. Other tools may do, but most will be difficult and may cause some root damage. Then turn the pot up on edge and gently tip the pot and tree in opposite directions. Recut the inside edges if this doesn’t happen easily, don’t use a lot of force or you could tear some roots that you may need. Remove the pot and place the rootball at the edge of the repotting table.
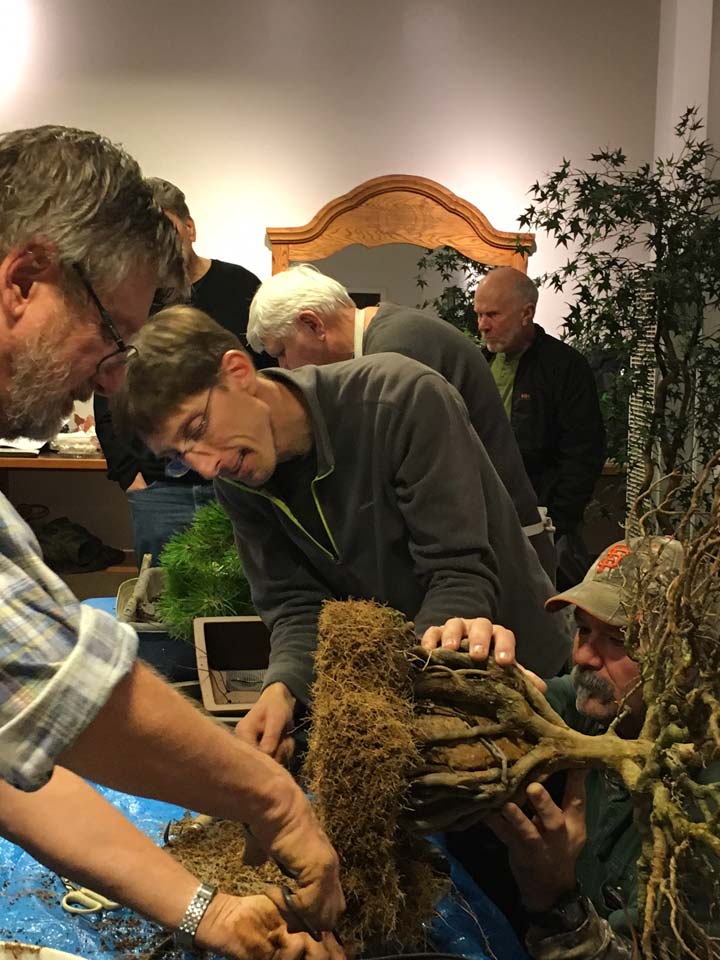 Use a chopstick or small short-tooth rake to gently scratch at the surface of the soil, from the trunk outward toward the edge where the pot was, so you can expose the surface roots that will become the primary means of expanding the nebari, that handsome flare at the base of the tree. This important step, which takes patience and a gentle hand, is often rushed and bungled, and then takes two or three years or more to correct. Once the surface roots are exposed, it should be more apparent how much of the bottom of the root mass can be removed. Tip the tree on its side and use the stick, the rake, or a small root hook to strip and comb across the bottom of the rootball in one direction only, over and over until enough roots are freed from the soil to allow you to scissor across the entire bottom of the rootball to create a nice flat surface. The edges of the rootball can then be trimmed to a convenient length, and the whole process repeated until a fairly thin, very flat pad of roots is created to tie into the new pot.
Add a thin base of larger-grain drainage material to the bottom of the pot, and add some bonsai soil in a heaping the middle. Place your flat little rootball on the pile, set the tree slightly off-center in the pot, settle it by rotating it right and left a quarter-turn a couple of times, and wire it in. There are several methods of tying the wire and snugging it down that will work. If you don’t know how it’s done, it’s hard to fake it, so get some advice or use diagrams or get someone to help you. Once it’s all secure, run lots of water through the pot to rinse out the dust, which would otherwise migrate toward the bottom and slow down the drainage from the very start.
 It turns out that there are some things at almost every phase of bonsai that are very hard to describe verbally, sometimes difficult even with pictures or diagrams, so that the outcome is unpredictable. This is one reason why the clubs are so important. There is sometimes just no substitute for hands-on instruction and personal assistance when it comes to details, and successfully accomplishing the details sometimes takes several repetitions to begin to master. And sooner or later the success of each bonsai creation always comes down to the details.
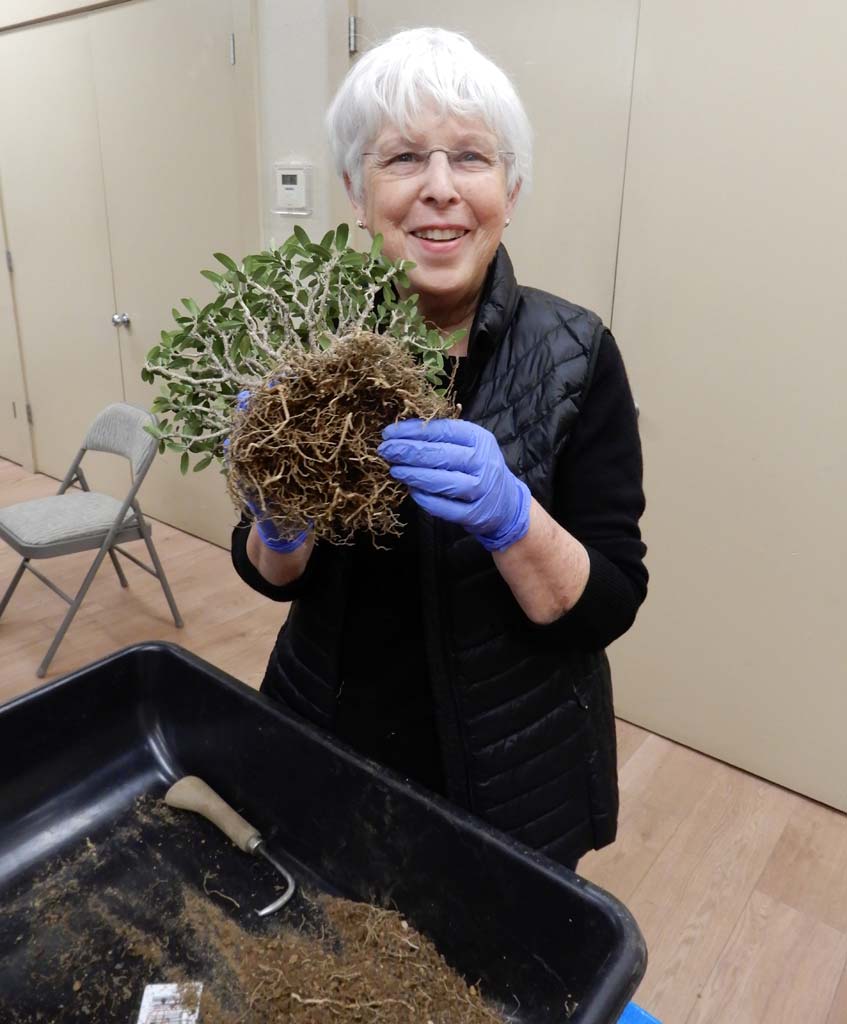
When the deciduous trees are repotted, move on to the evergreen broadleaves, then the junipers, conifers, and other evergreens. A few tree types, like most tropicals for instance, should be repotted at an entirely different time of year.
Put all repotted trees out in full sun, and remember that new, unsettled soil may dry out much faster than the soil you’re used to so be careful about the watering.
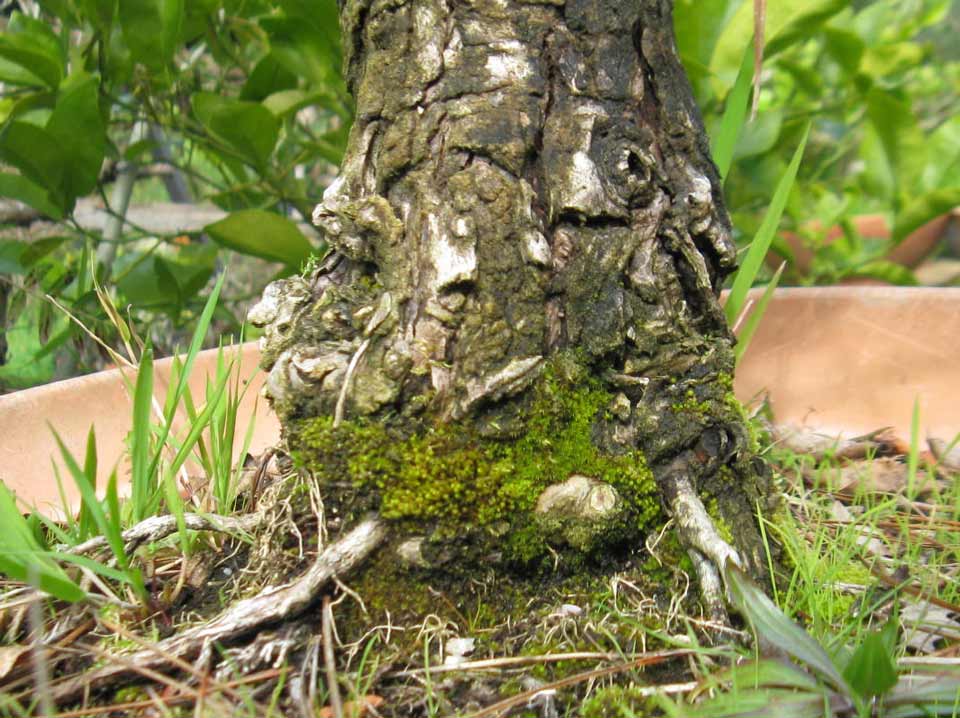 Green moss can be removed from trunks and exposed roots by gently brushing with a soft brush, but frequently the bark beneath it will be wet and tender and easily injured and it takes years to grow it back. Kill the moss first with alcohol in a spray bottle set for misting, then brush it off when it’s dry with a denture brush or a tiny whisk broom.
Freezes may still suddenly descend on the garden, and potted plants freeze more quickly and more thoroughly than those in cans or in the ground, so keep the soil moist not wet and when you suspect trouble put the pots under the benches, under the eaves, under taller shrubbery, or in the garage for a couple of days.
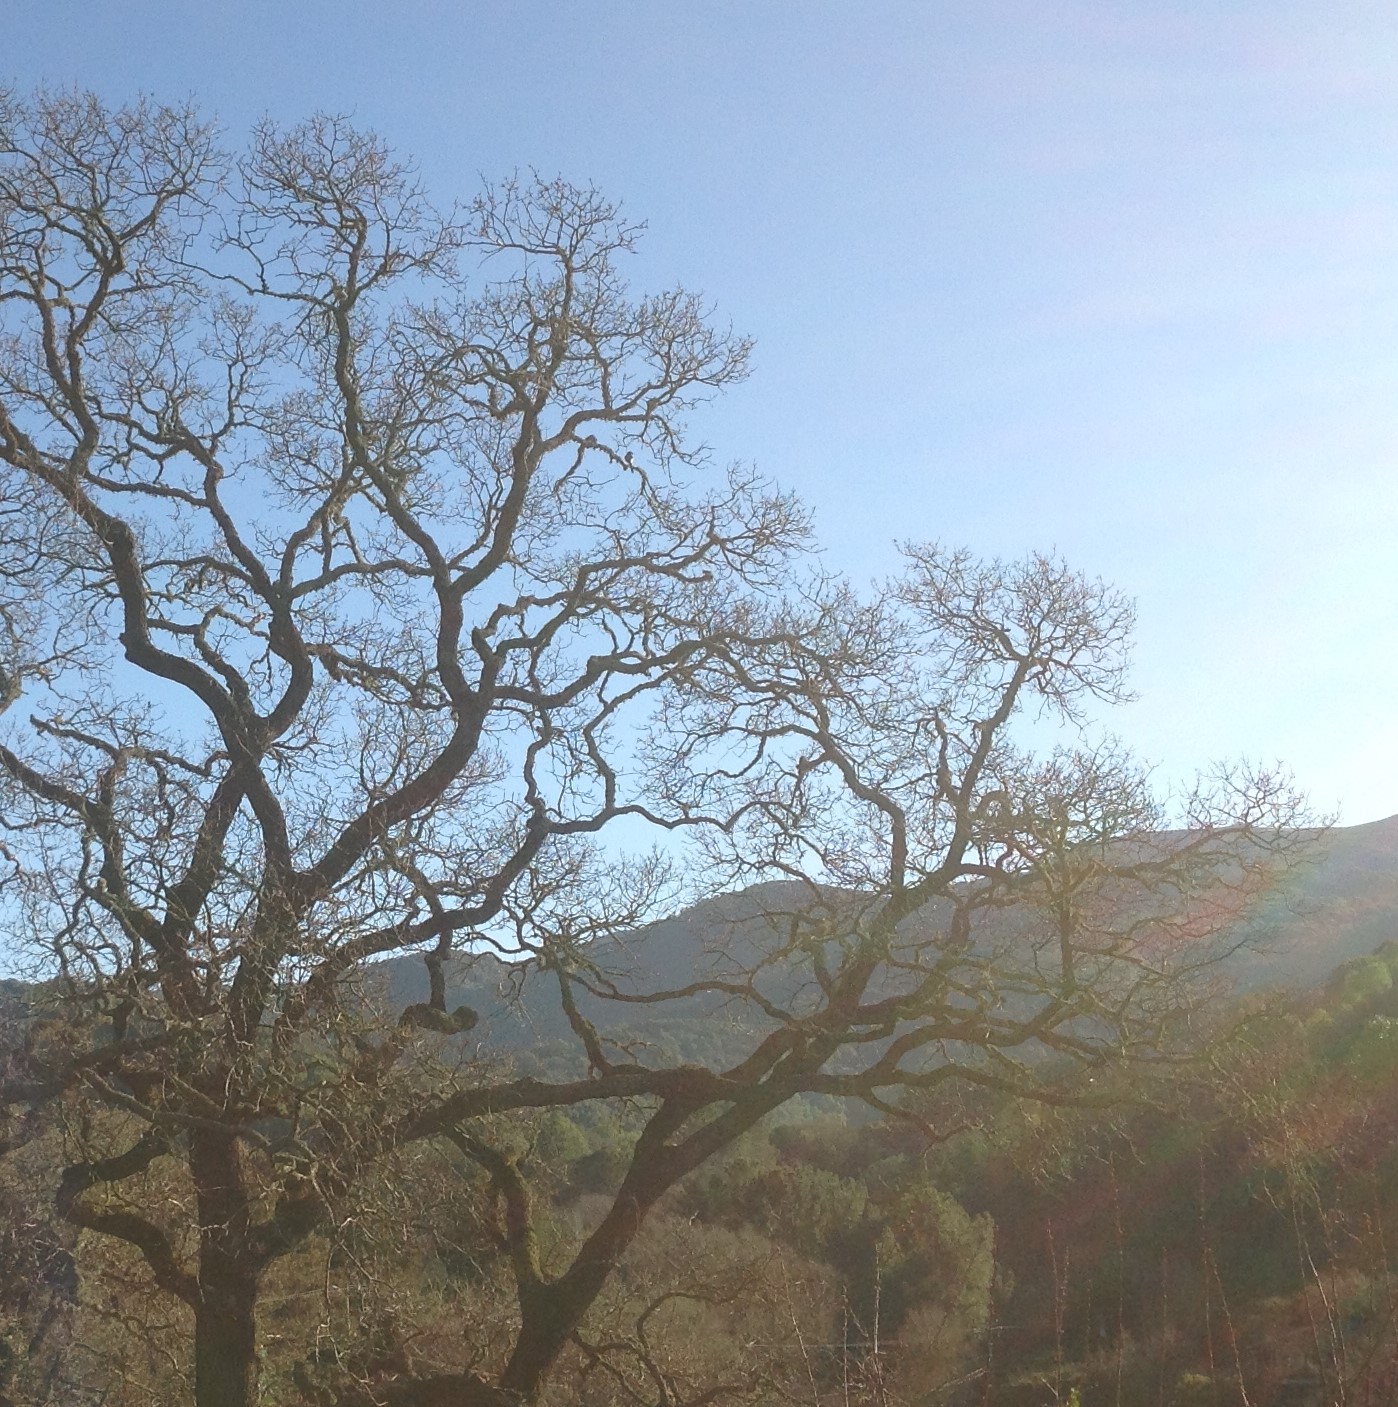
There’s plenty to do. By the end of February you can feel and practically even hear Spring approaching. It’s a heart-moving and lovely time of year full of promise and pleasant expectation. Try to make sure that the same can be said for your garden, and your everyday life, and your close relationships. Life is beautiful.
– The Taskmaster