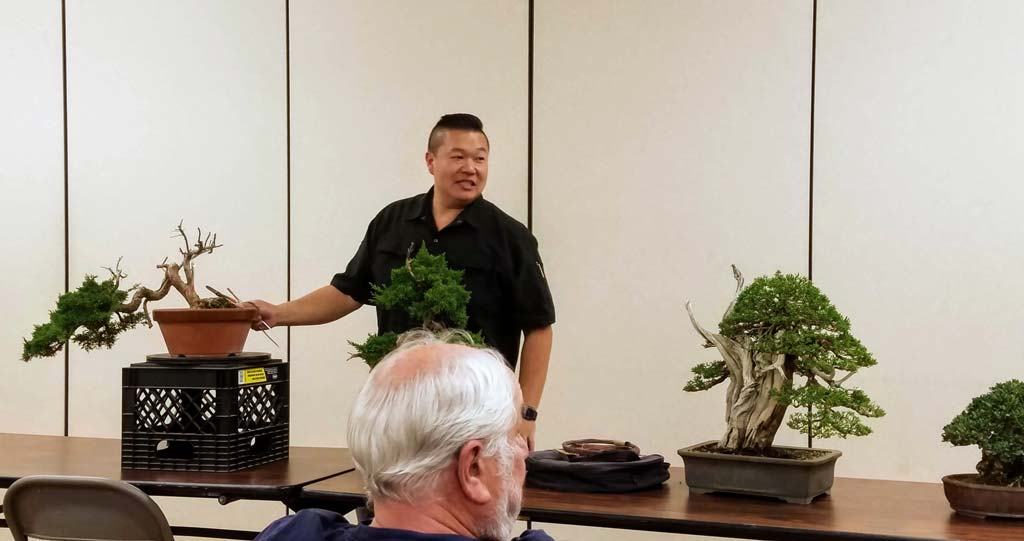
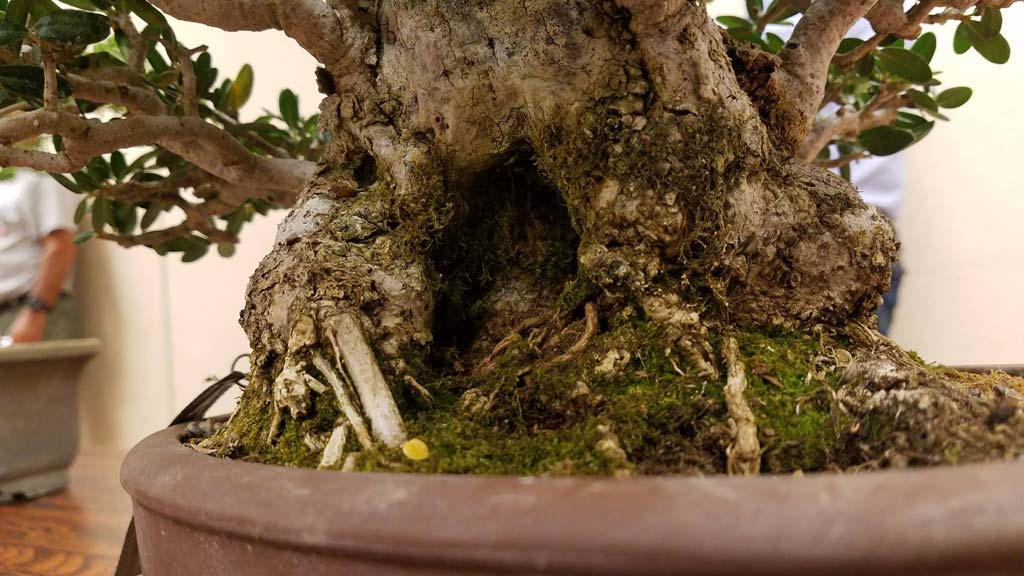
Peter Tea joined us in August to talk about the work that is appropriate to do on junipers late in the summer. He brought three Kishu Shimpaku junipers with him, plus an olive for contrast, and to illustrate how different trees need different approaches.
Peter began with a quick recap of the importance of working on healthy trees, listing once again the six things we can manipulate to ensure that we get the most out of our trees and the changes we make to them: sun, water, soil, repot interval, fertilizer, and cutting.
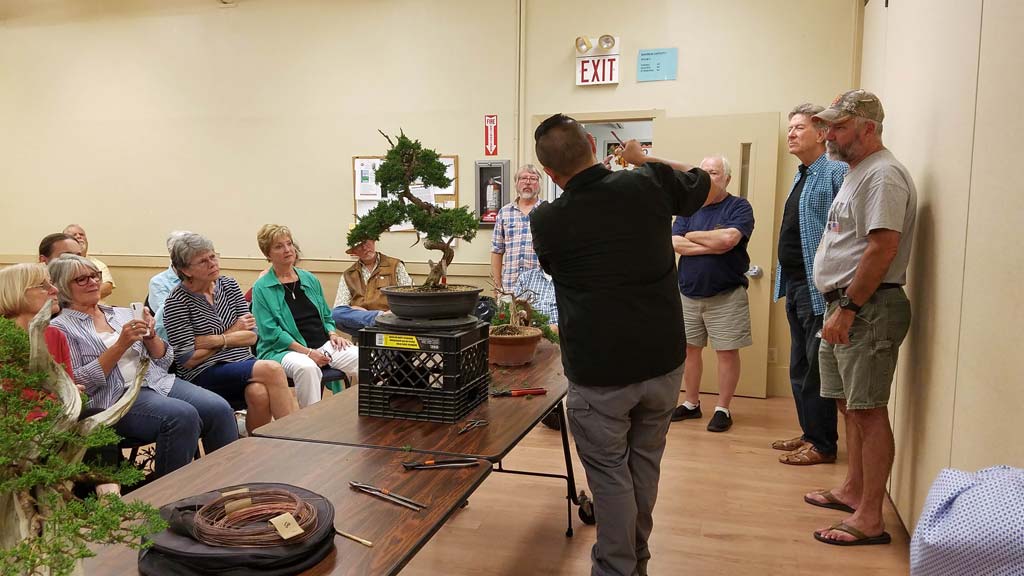
The Kishu Shimpaku is, like most junipers, highly valued for how great it looks with foliage pads, those perfectly shaped bundles of foliage that are so iconic in bonsai. As he drew front and side diagrams of them on the whiteboard, Peter pointed out that creating those perfect pads always begins with branch division, lots of division. But it’s not enough to just create division, it must be planned carefully. For instance, you have to bear in mind that all that division will add girth to the tree. Depending on where you begin the division, that girth will either be close in to the center of the tree where it looks good, or it will be far out at the ends of the branches, where it will only look good in the most extreme of compositions.
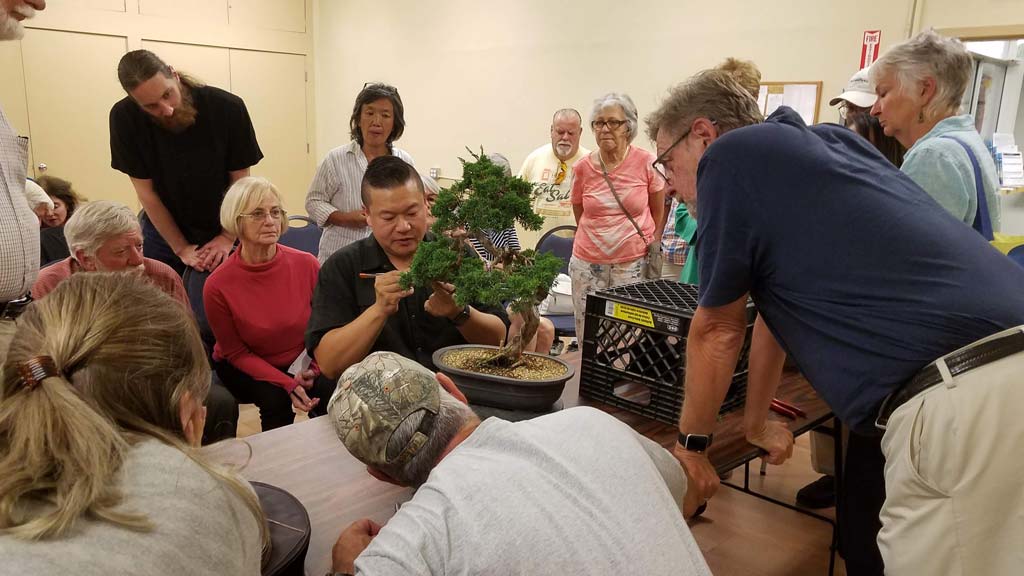
With that in mind, Peter turned to the least developed of his junipers and asked the audience to imagine where we would want the outer edge of the final canopy for that tree. He held his hands open around the tree to help us envisage where its perfect silhouette would be. With that goal established, he told us to imagine how much further in we would have to start dividing the tree’s branches to allow enough division and subdivision to create the dense pads achieved on a mature tree. He moved his hands in to where that would be, and many of that tree’s young branches were already bare beyond that point. Clearly, some of those branches were going to have to be sacrificed. Peter’s ultimate point: you might have to cut deeper into the tree to get the ramification to peak where you want it. Additionally, he added that you can’t work on one isolated area without regard for other areas, or else you’ll waste your time perfecting something that might end up getting sacrificed in service to the larger design.
Returning to the importance of working on healthy trees, Peter sidetracked to a discussion of spider mites and how to deal with them. Various types of oil are effective. “Year Round” and “Neem” are two popular examples. Peter recommends using only 60% of the listed dosage and avoiding using oils under direct sunlight. Douse the tree thoroughly, but then wash it off an hour later, again to avoid sun exposure. It will have done its job of suffocating the mites within that hour. Be sure to repeat the process a week later to catch new hatchlings. According to Peter’s experience, miticides (Floramite, Sultan, Hexagon) are less successful in the long run, the problem being that mites build up resistance to them over time. Peter also says that Malathion doesn’t work at all.
As he turned to a curvy Kishu that he had before us a year ago, Peter continued with advice on how to shape young junipers. One big help when it comes to wiring is how flexible juniper branches are at all ages, and particularly when they’re young. More specific to something he had done with this particular tree was a tip he gave for creating deadwood on younger trees: Peter recommended making separate isolated sharis (areas with the bark shaved off), in strategic places that accentuate twists in the trunk or branch, but that do not overly stress out the tree. Those create their own interesting effect, and when the tree is older you can strip off more if you like.
Peter made a point to highlight the importance of ramification for density. According to Peter, you can grow a lot of foliage, but that does not necessarily mean you have created density. A tree only becomes truly dense when it has a lot of ramification (division) in its branches.
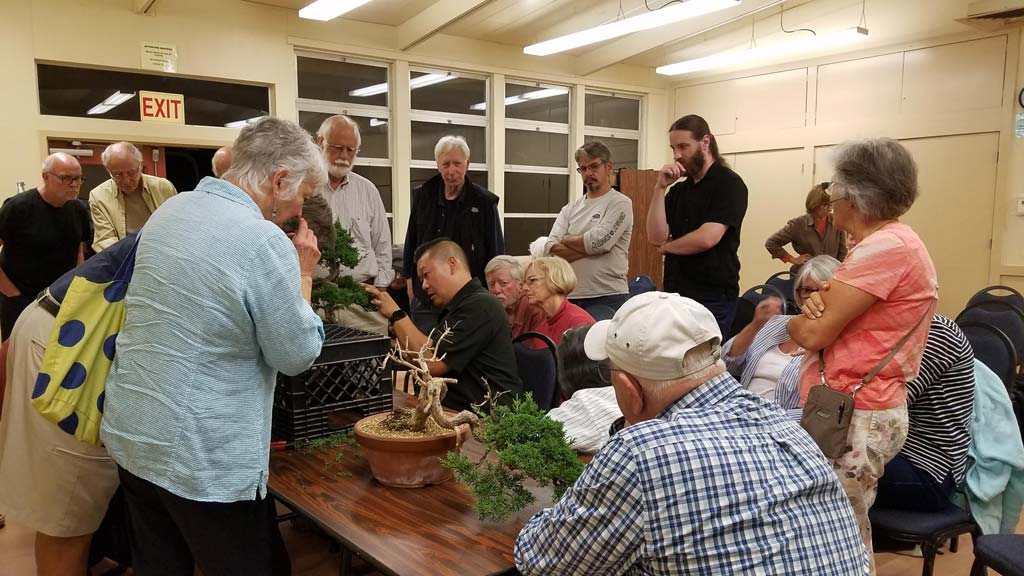
Finally turning to the largest, but scrappiest, of the junipers, Peter started pulling out all the under-branch growth. “An obvious place to start,” he said, attacking the tree as if he were seeing it for the first time. Then he began to pull out thin, unnecessary bits of branches. Stuff that clearly served no purpose as he moved toward something with the beginnings of foliage pads. Getting in close, he pointed out that another good early decision is to trim the undersides of the branches’ secondary and lesser tips, parts that will later grow into useless material that will invade the negative space you’re creating between each pad and its neighbor.
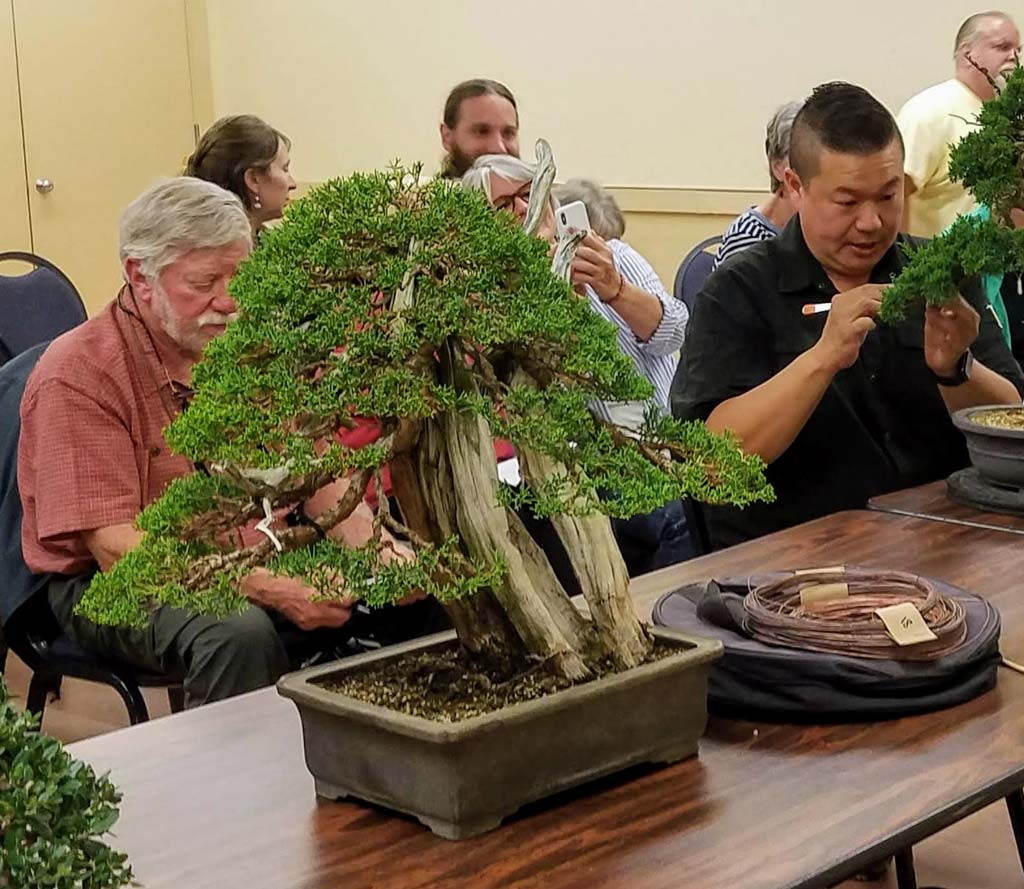
An interesting closing point Peter made: a shallower pad (one cut closer to the branch) may be useful not just for show, but also because upward-pointing secondary branch tips will grow even faster than outward-pointing branch tips. Downward-pointing tips will grow the slowest. So by making a shallower cut to the entire pad, the upward-facing tips will be held back a bit so they ultimately match the main tip better when everything grows out.
– David Eichhorn


