2018? – Yes, that is the correct year. Our talented wordsmith David Eichhorn made us wait a bit for this one but we think it’s worth it. – Ed.
This article is crazy long, partly because of the popularity and intricacy of the topic, but also because Peter talked a lot more than intended about deciduous trees. That was because we had a lot of new members at the time and he wanted to be sure that they were getting a leg-up on some of the basic material we have covered in the past. Therefore, I am suggesting that the newer, less knowledgeable readers read this entire write-up, while those who are familiar with many of Peter’s former talks may want to skip ahead to the section on thread grafting.
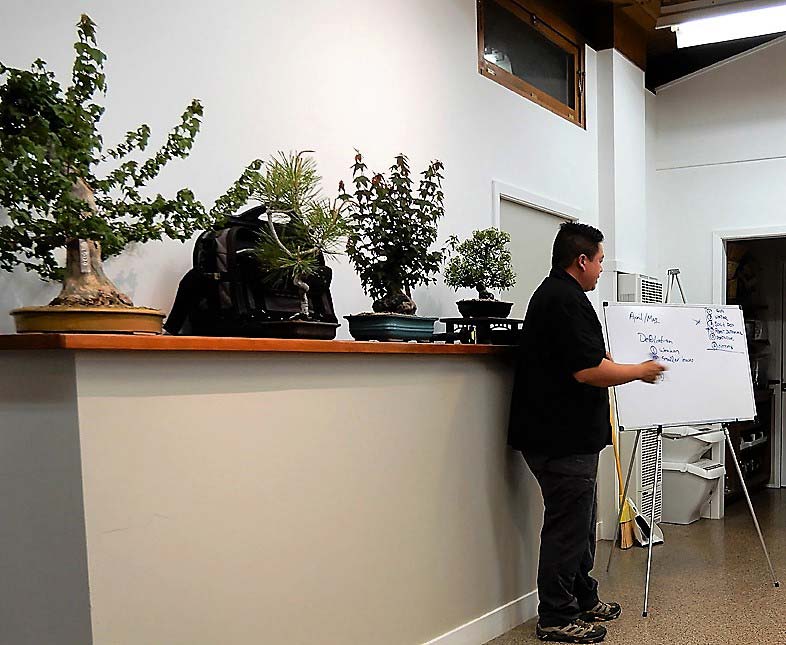
For both parts of his talk, Peter Tea showed up with four trees. He brought three of the trees to talk more about deciduous tree development–two of which we have seen him work on before–and he brought the third as an example tree to introduce us to the topic of thread grafting.
Deciduous Trees
On the whiteboard behind him, Peter had written the common horticultural manipulations for bonsai we have discussed every time before, because they represent the cornerstone knowledge he developed with us in his first few talks in this ongoing series. For review, they are: Sun, Water, Soil (and the Pot), Repot Interval, Fertilizer, and Cutting. He turned to this list at the outset of his talk to point out the ones that are most appropriate to consider when deciding how to encourage or discourage growth in our trees in May. Note that all but Cutting affect the tree overall.
According to Peter, cutting (including pinching) is just one of four important things to consider doing in early May. Fertilization, wiring, and defoliation are the others. To illustrate the importance of starting to fertilize by early May, Peter drew a horizontal curve with the months of the year proceeding along the bottom from left to right and with the height of the curve representing the growth output of deciduous trees. The curve peaked sharply at April and then dropped off rapidly across the remaining months before dormancy in late Fall. What this means for your fertilizer timing is a little more complex than you might think, depending to a large degree on what stage a given tree is at in its development . . .
If you’re early in a tree’s development and not overly worried about long internodes between where your leaves come out (remember, internodes are locations on your trunk and branches that are the only places deciduous trees will ever manufacture leaves or additional branches), then you can fertilize early to help boost that growth. If you want slower growth, however, and shorter internodes, probably because your tree is already where you need it to be growth-wise, then you shouldn’t feed until the tree’s growth has already started to slow down. Don’t wait too long, though–your tree may give up on weaker growth areas if you deprive it of the late-season nutrients it was counting on.
At this point in the talk, Peter turned to an elm he worked on with us about a year ago, at which time he cut off almost all of its branches. He had only worked on it once since it was in front of us last, and it was looking quite nice already. There were copious branches emerging from all of the cut points, something elms will always do. Peter used the tree to show how thick certain branches had become in such a relatively short period of time, and to illustrate some of the reasoning involved when treating strong and weak growth areas differently. For example, one important reason he had kept so many of the new branches, even though many of them will eventually be cut off: a tree, or area of a tree, with more branches is less likely to grow longer internodes than one with fewer branches. If you rush to cut off the extra branches you know you won’t need later, you may cause the remaining ones to elongate, returning to the same problem that probably made you cut a branch from there in the first place.
Peter also had two trident maples with him: one that he has worked on with us several times, with lots of dense growth at the top, and a root-over-rock trident with long internodes. He used those trees as examples while talking about the ways in which cutting, wiring, and defoliation are all more artistic manipulations that can be done in early May. Given its extreme nature and people’s general curiosity about the technique, Peter focused on a few important tips about defoliation for awhile.
Defoliation, the complete removal of a deciduous tree’s leaves, is used to weaken undesirably vigorous trees, produce smaller leaves (two smaller leaves will be produced for every leaf that is removed), and maintain ramification. Another benefit purely for the person doing the defoliation: it makes the tree easier to wire once all the leaves are gone. Two especially useful tidbits of information Peter gave us: (1) Cutting each leaf in half is an accepted means of partially defoliating, though that will not create the smaller-leaves result. (2) Trees that generally don’t like being defoliated: beech, birch, fancy maples, and (to a lesser degree) hornbeams.
Thread Grafting
After his extensive discussion of mid-Spring development possibilities with deciduous trees, Peter Tea launched into the much-anticipated topic of thread grafting. Some worry that grafting is too advanced a topic for them, and indeed the success rate is rarely higher than 75% for even the masters of the method, but Peter strongly encouraged us to try it because the steps are relatively easy and the results can completely transform a tree.
Generally, grafting is the technique of taking one piece of plant material and fusing it with another. One of the more well-known uses of the technique is to fuse the upper part of a beautiful rose variety with the root stock of a heartier but less aesthetically desirable variety. Peter gave a brief introduction to the various grafting techniques typically used in bonsai, including those that involve separate plants, but focused on thread grafting, by which an elongated branch from a tree is fused to another location on the same tree, usually the trunk, by passing it through a hole drilled through the tree.
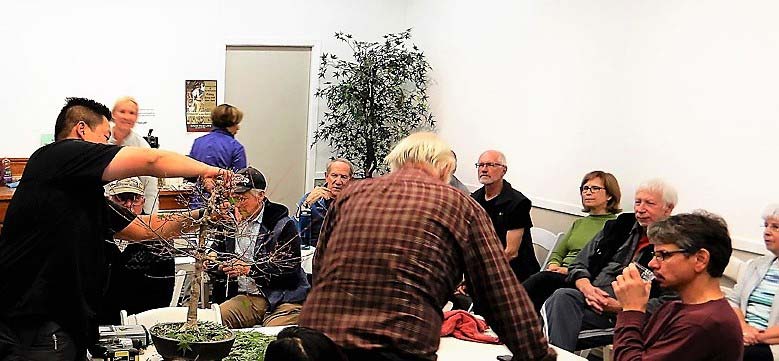
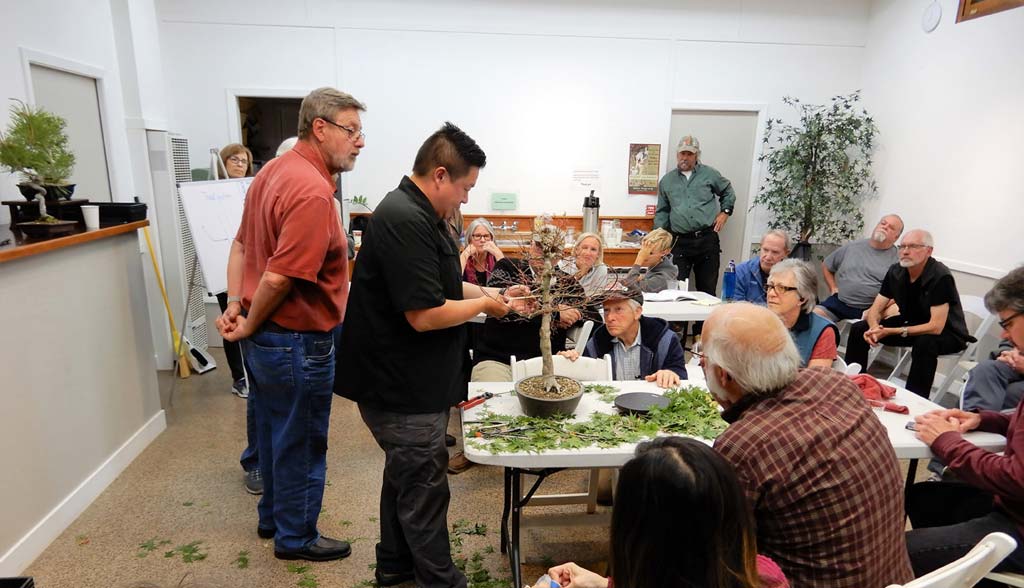
Turning to the fourth and final tree he brought with him for the evening, a maple, Peter began the demonstration portion of the night by discussing important factors to consider when choosing which branch to use as the donor, or source material for a thread graft. Choosing the right source branch can be tricky, unlike choosing the destination area, which probably happened long before you ever considered thread grafting–if you’re doing it for the first time, you were no doubt drawn to the procedure because you have some section of trunk on a tree that is just too bare and you finally couldn’t stand it any longer! Typically, choosing the source branch happens some months before the procedure, as Peter did before his presentation, because you will want a relatively long, and preferably vigorous branch, something that may require planning. Peter also prefers using a branch below the desired graft destination rather than above it, but didn’t explain exactly why. Probably because a source branch from above would be more inclined to draw energy from the original source point rather than from the graft. Finally, it’s best to use a source branch with the shortest internodes possible, because there’s no point in going to the trouble of grafting if you’re not creating a desirable branch with lots of potential. Also, you’re going to be giving the branch as much energy as you can after the graft, so it will tend to elongate its internodes as it begins to take hold.
With all of us on the edge of our seats, eager to see the main event, Peter paused with tools in hand long enough to explain the other important issue when considering a graft: timing. It’s best to perform a thread graft just before the tree’s leaves come out in Spring. That way there won’t be any leaves in the way of the process, but they will pop out and the tree will experience its greatest period of vigor very soon after the procedure. If you miss that ideal time, wait until right after the leaves harden off, but strike while the tree is still vigorous. After that, although not ideal, the procedure can really be done any time up until almost September in our area. Your chances of success are still good, just not as good as if you do it earlier.
You should also carefully consider what else will be happening with the tree while you’re waiting for the graft to take hold. Ideally, you would do little else for up to a year, so that the tree remains vigorous, but on larger trees you may only need to worry about the immediate area where you’ve done the graft. It would probably be safe, possibly even better in terms of energy distribution, to work on areas away from the graft on a larger tree. By hampering the development of remote areas, you may induce the tree to send energy to your graft. You may want to delay your graft, however, if you’re planning on developing anything on the tree lower than the graft any time soon. Otherwise, the graft will steal energy from the developing area, since trees tend to prioritize energy distribution from top to bottom, and once it takes, that new branch is going to demand a lot of energy.
Finally, having elicited the audience’s opinion as to the best branch to use for the source of the graft, and after double-checking that the branch was both long and flexible enough to pass through his chosen spot on the trunk, Peter picked up his drill and prepared to drill a whole in a perfectly healthy maple. There was nothing special about Peter’s drill, it was just a common lightweight rechargeable model with variable speed. The variable speed might be important if you want to avoid drilling through the tree too quickly, but so long as you use a reasonable amount of care, there’s not too much that can go wrong. The hole can even be drilled off-center or at an oblique angle from the trunk and the technique will still have the same chance of working. You might want to take a little extra care, however, when choosing the correct diameter drill bit for doing this yourself. Skimp on the hole size and you might knock your precious leaf buds off the branch you’re pushing through the hole.
Speaking of the buds, before committing to any thread graft, be sure to consider where you’ll be positioning the branch’s buds in relation to the point at which it will emerge from the trunk. If you put the first buds too close to the trunk, the hole may absorb the buds as it heals. Also, be sure to avoid stressing the source branch overmuch as you proceed, or else a stronger area above may steal its energy and kill your graft. Along those lines, and as was intimated earlier, it’s not a bad idea to perform other work, like defoliating and cutting back other areas of the tree, if it’s a medium-to-large tree, to keep those areas from stealing energy from your graft. At the very least, it’s a good idea to trim off strong competing branch tips.
Peter next demonstrated that, after drilling the hole for a thread graft, you should put a tiny bevel on the hole with a very sharp (e.g., grafting) knife. Cleaning the hole out is also a good idea. Peter put the branch through next, then recommended and demonstrated scoring the branch top and bottom at the contact point where it emerges from the hole in the trunk. Once the branch is positioned correctly, “pin” it in place, on both the entry and exit sides, by inserting the tapered point of a chopstick under the branch on each side, being very careful to not crush the branch as you insert the points. It helps to cut them to size beforehand so that as little as possible will be sticking out when you’re done.
Once everything is in place, cover the entry and exit areas with cut paste to keep them protected from the elements, and start hoping. You may want to secure the source branch to keep it from moving. You’ll know the branch has taken to its new location when it begins vigorous growth again, but especially when the part of the source branch before the graft starts losing vigor compared to the growth tip. That’s when you know you can cut away the source branch.
– David Eichhorn
Photos by George Haas


