November 2019: Randall Lee Cedar Demonstration

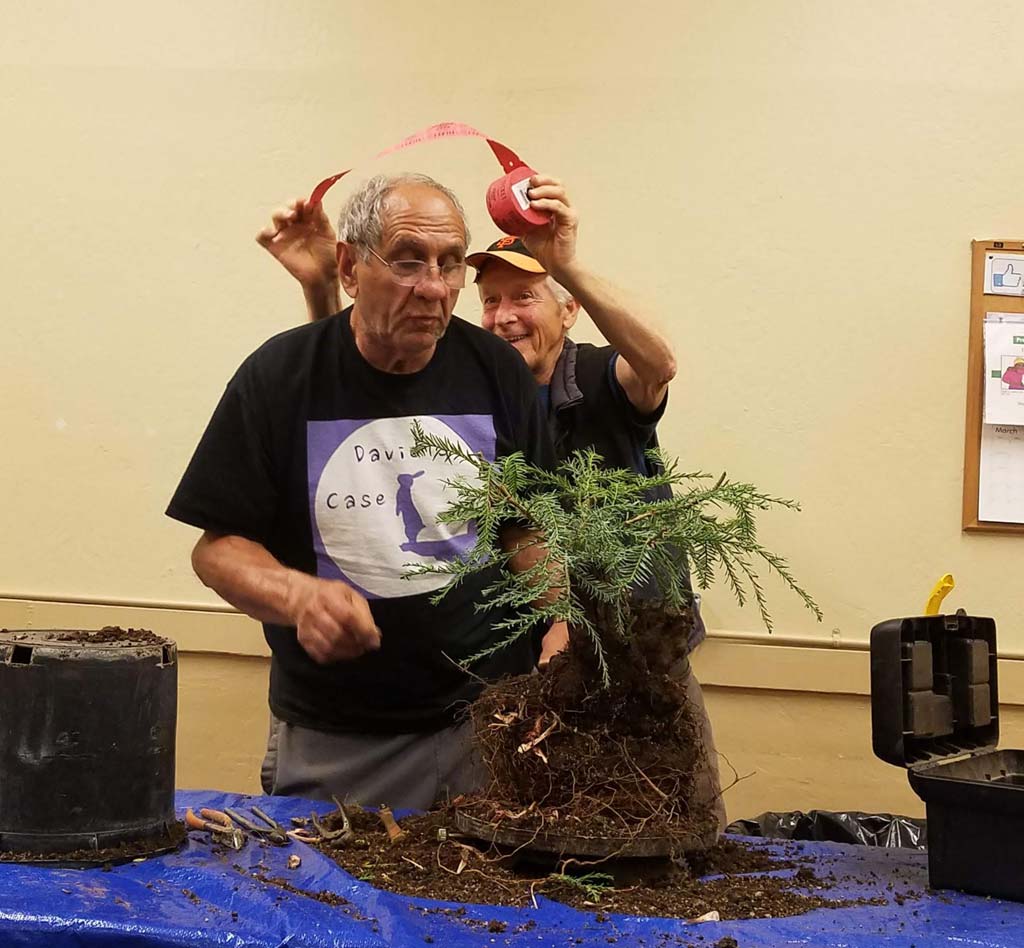
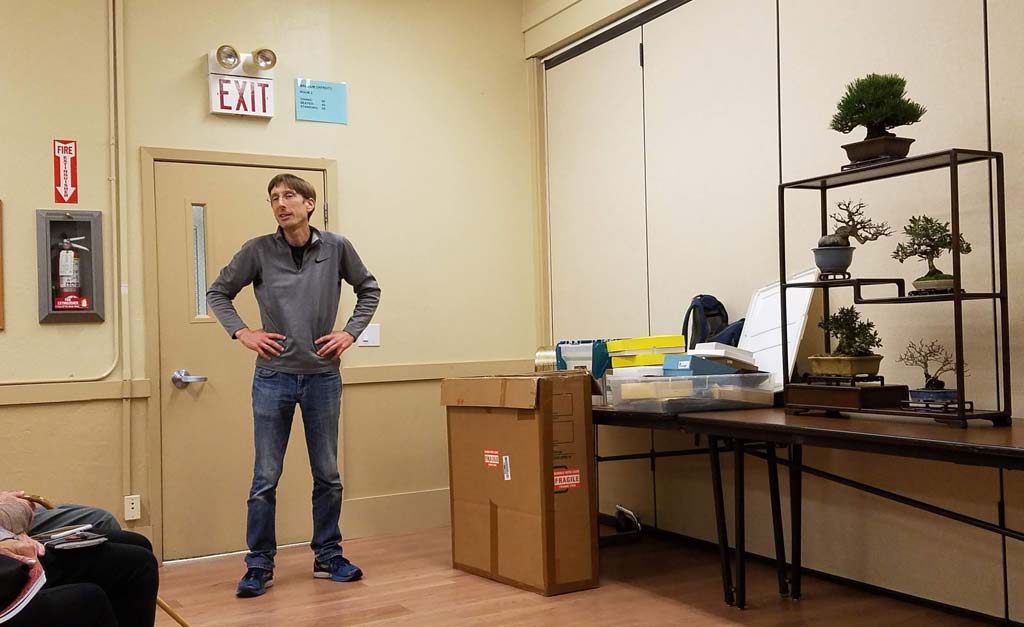
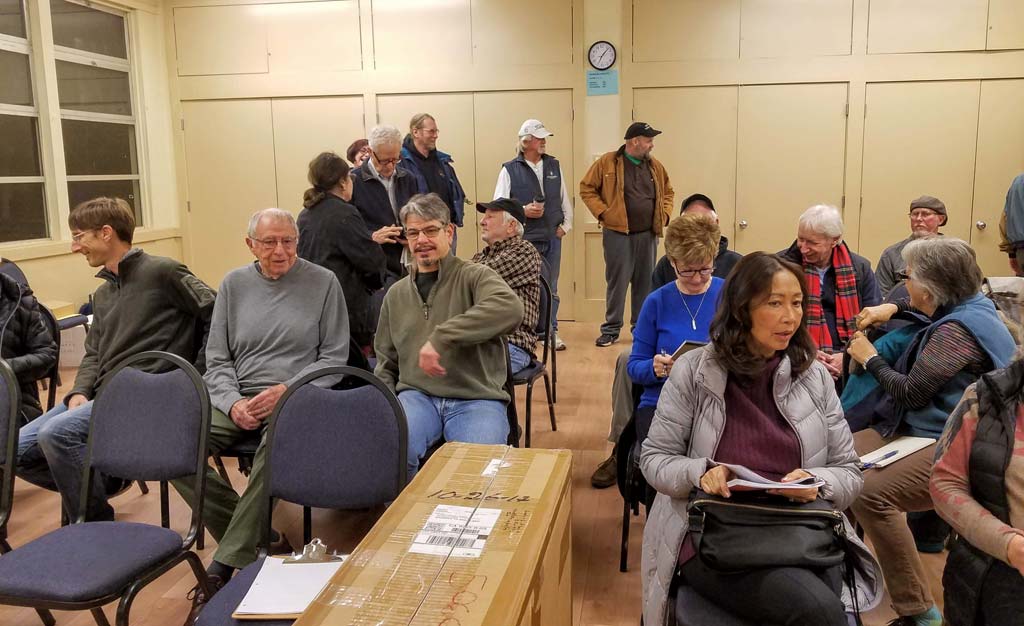
Professional aesthetic pruner, long-time bonsai enthusiast, and avid bonsai experimenter Randall Lee brought several species of cedar with him in November to demonstrate how to raise and style the variety. The last time we saw Randall was in January of 2018 when he created a dramatic forest of elms on a slab.

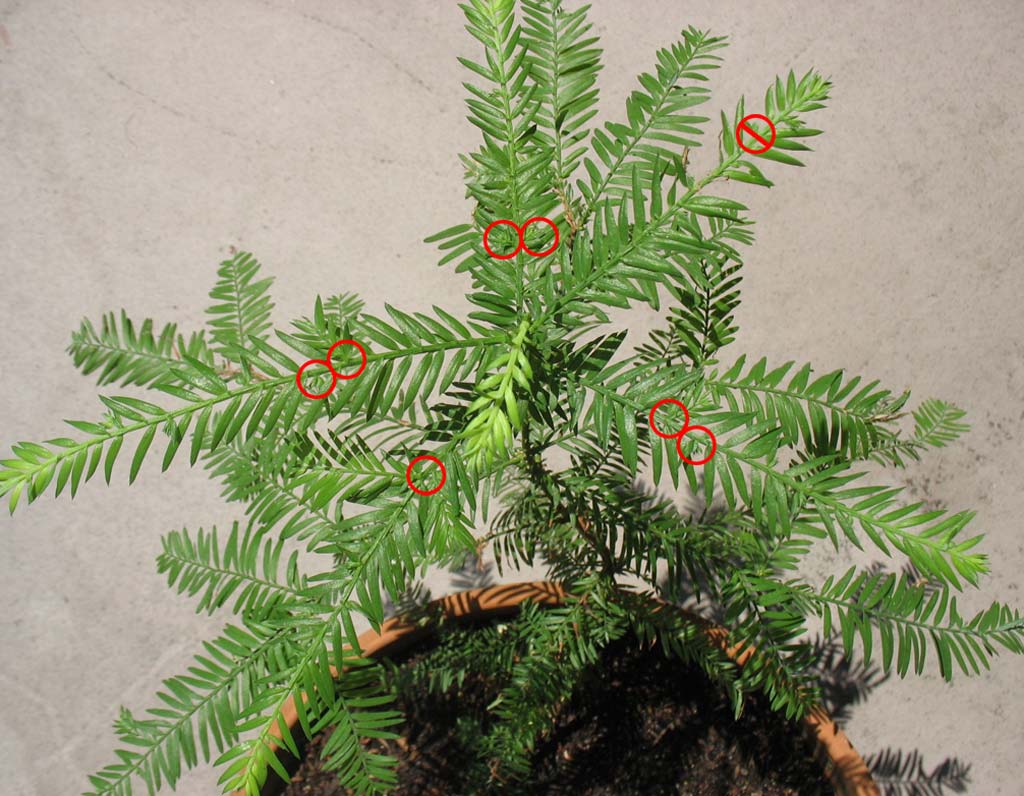
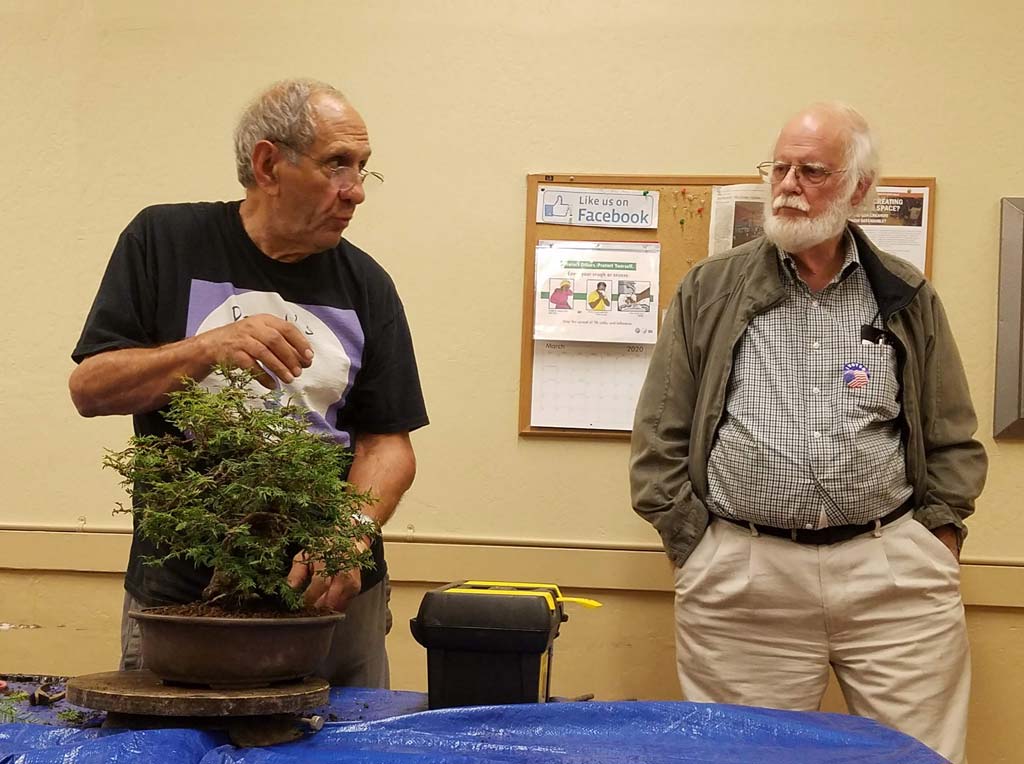
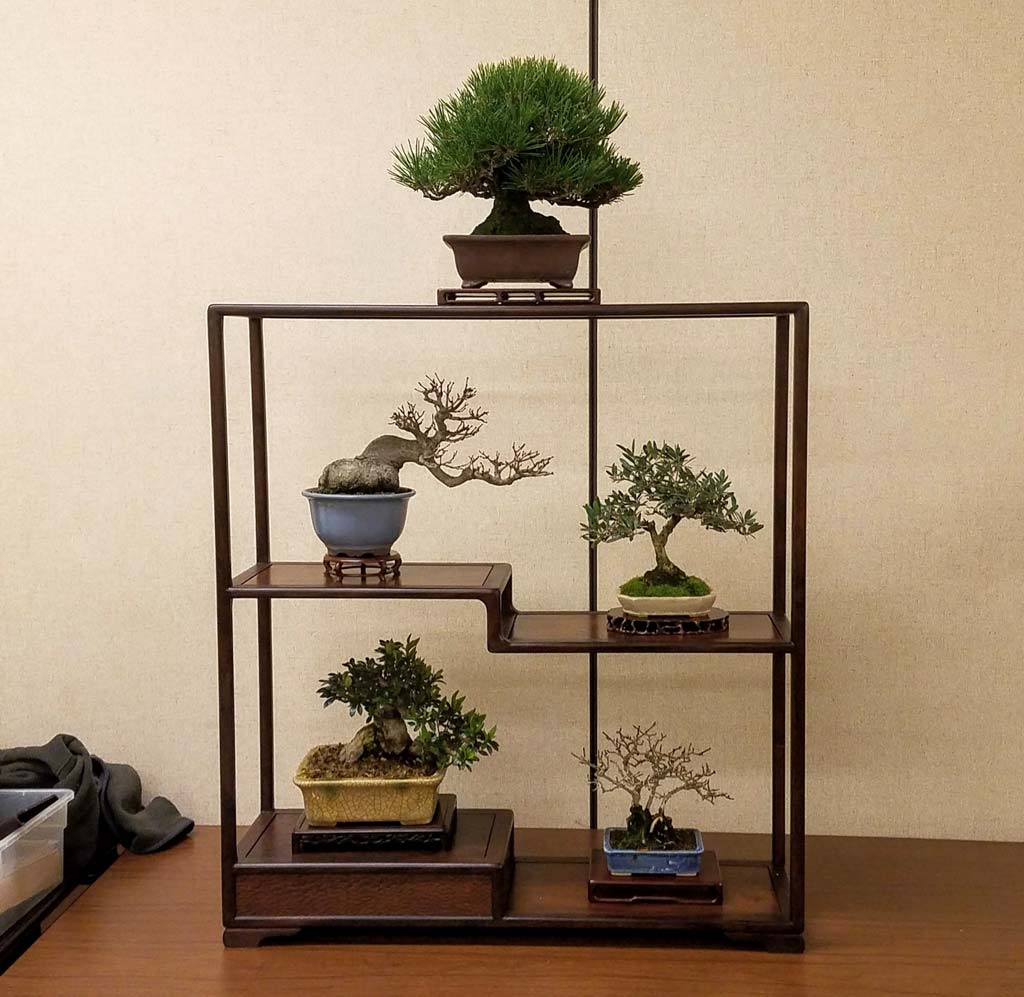
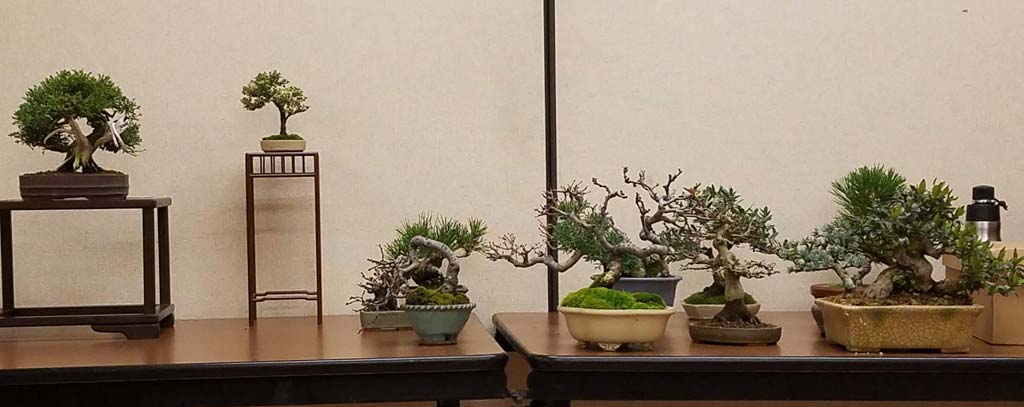
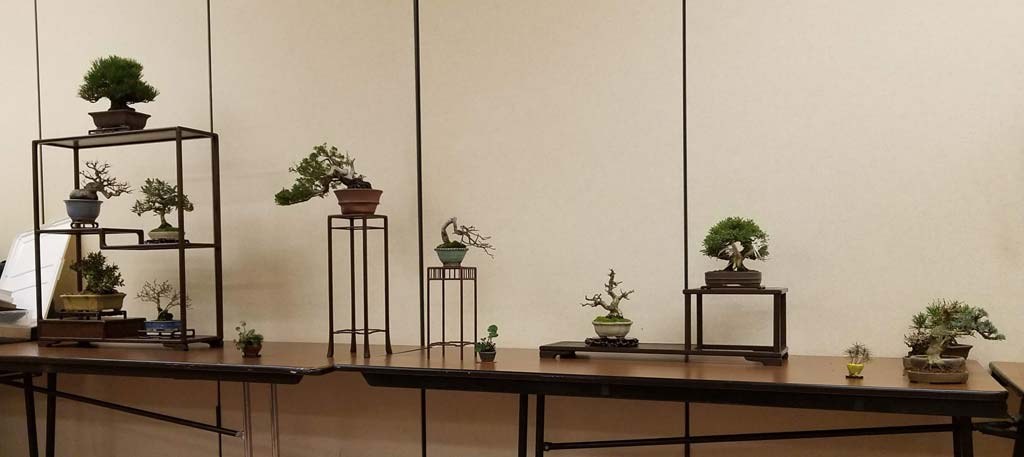
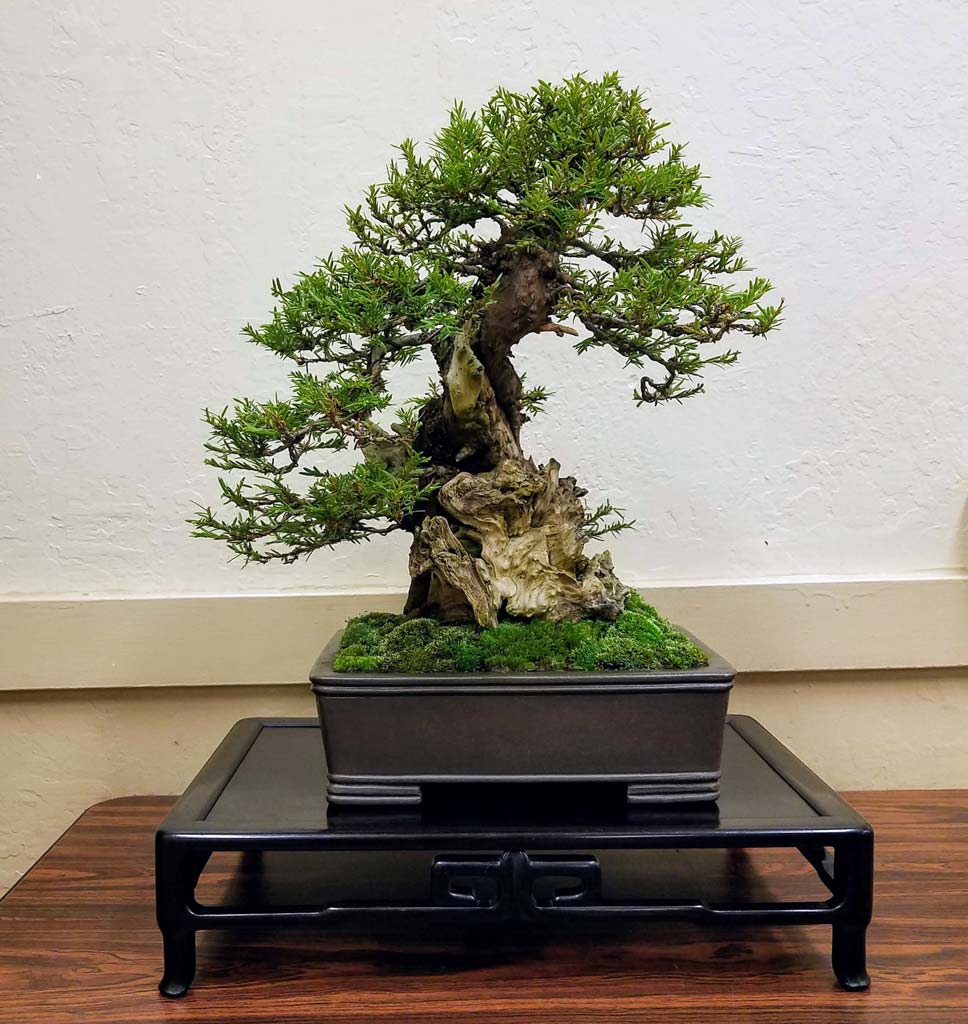
In addition to the demonstration tree, Randall also brought five other cedars, including a Sapphire Nymph (a dwarf variety related to the Blue variety, with stunningly short needles) and a subspecies of Lebanon cedar. He referred to these as he talked briefly about the different growth styles of the different varieties of cedar.

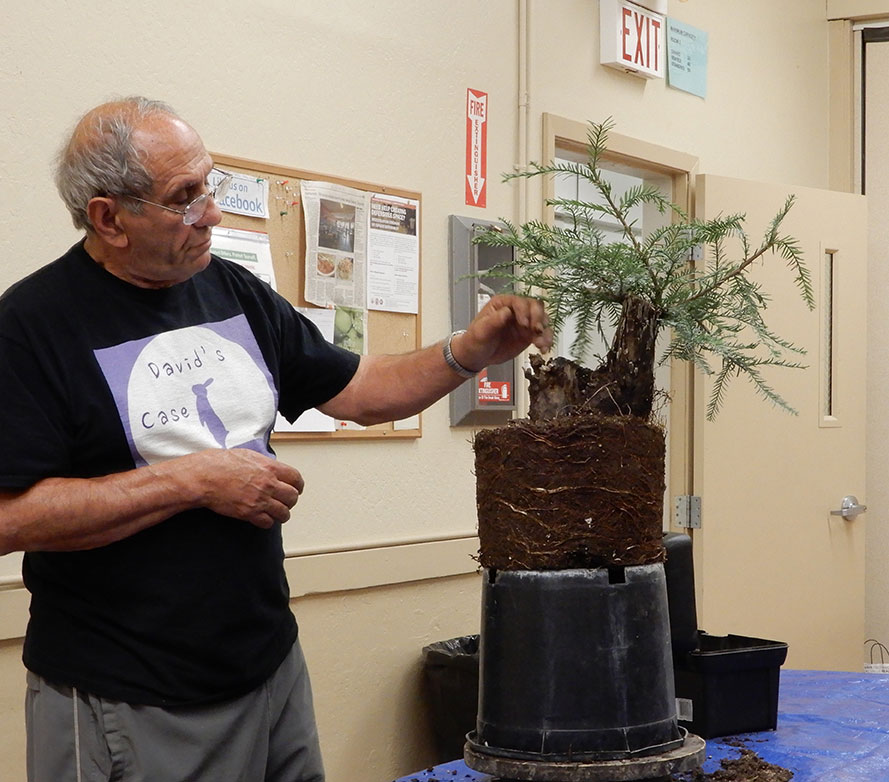
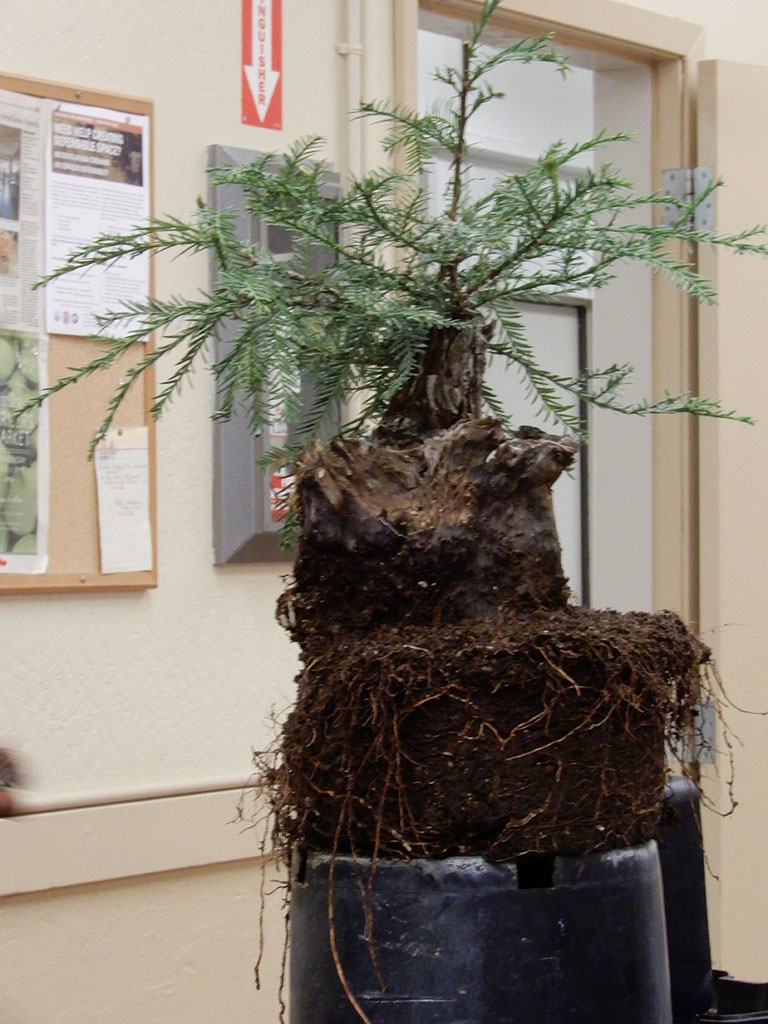
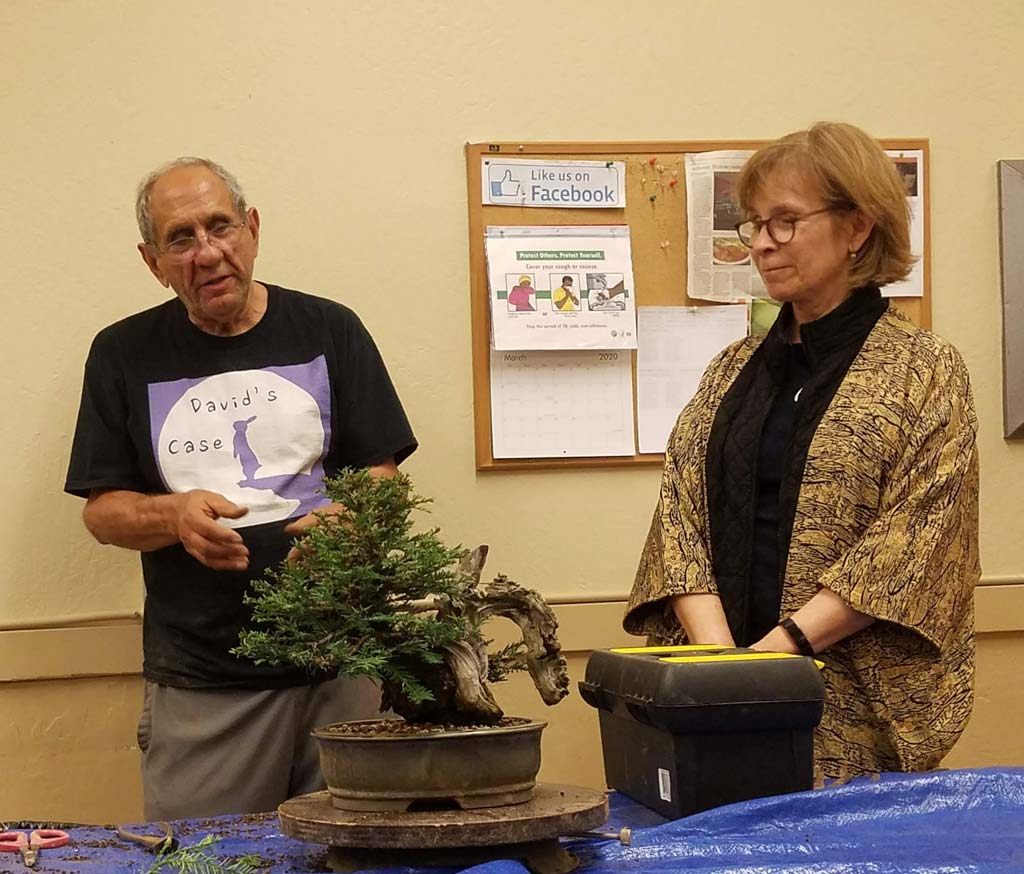
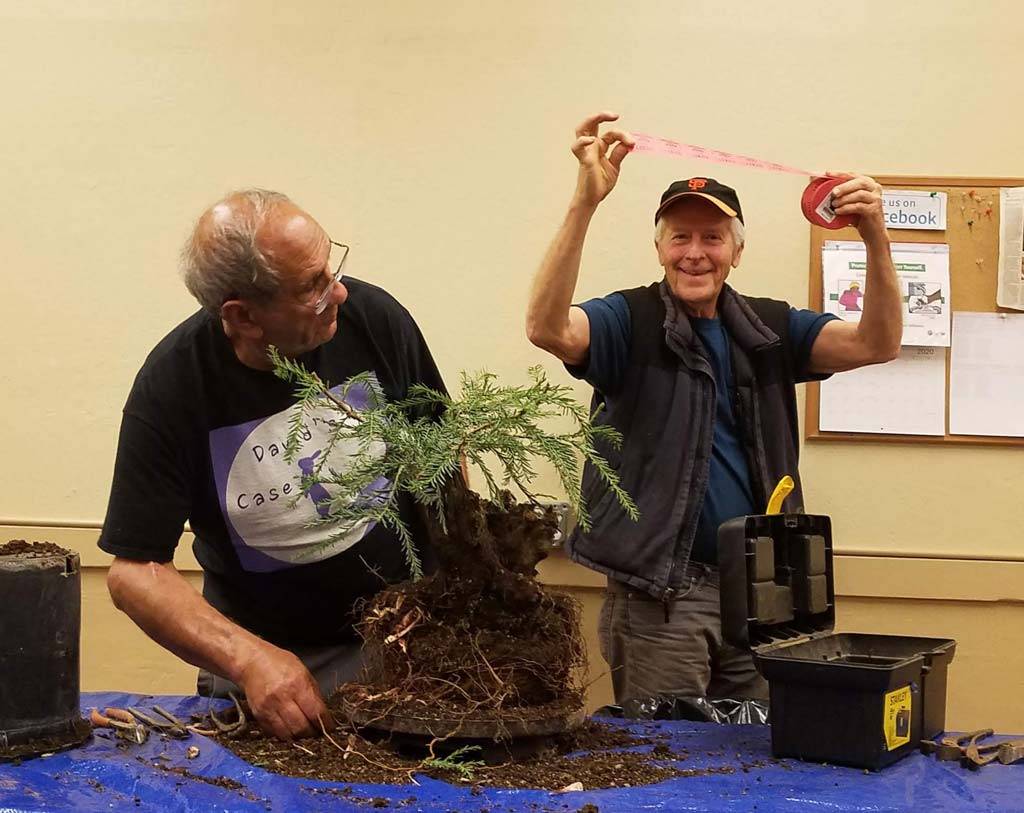
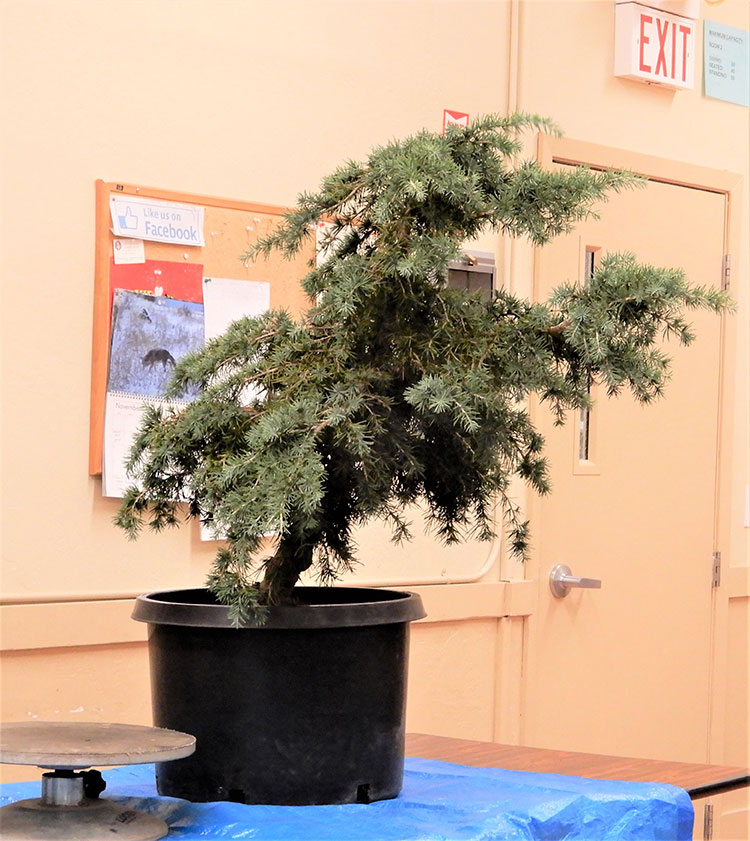
The demonstration tree was a Deodar cedar. As part of sizing up its potential, Randall told us some of the tree’s history. It was collected from a yard that was being redesigned during the spring of this year. It was not aggressively root pruned at that time, but Randall cautioned that the eventual winner of the tree should wait at least a year to repot the tree anyway. It was only in the ground for three years before it was collected, so it doesn’t have an overly robust root ball. It originally had more of a slant and Randall found clear evidence that it was propagated via a root graft 15 to 20 years ago. Although such grafts can leave ugly scars on most trees, thankfully Deodar cedars bark over readily to cover such things, so much so in this case that Randall was barely able to identify the graft point.

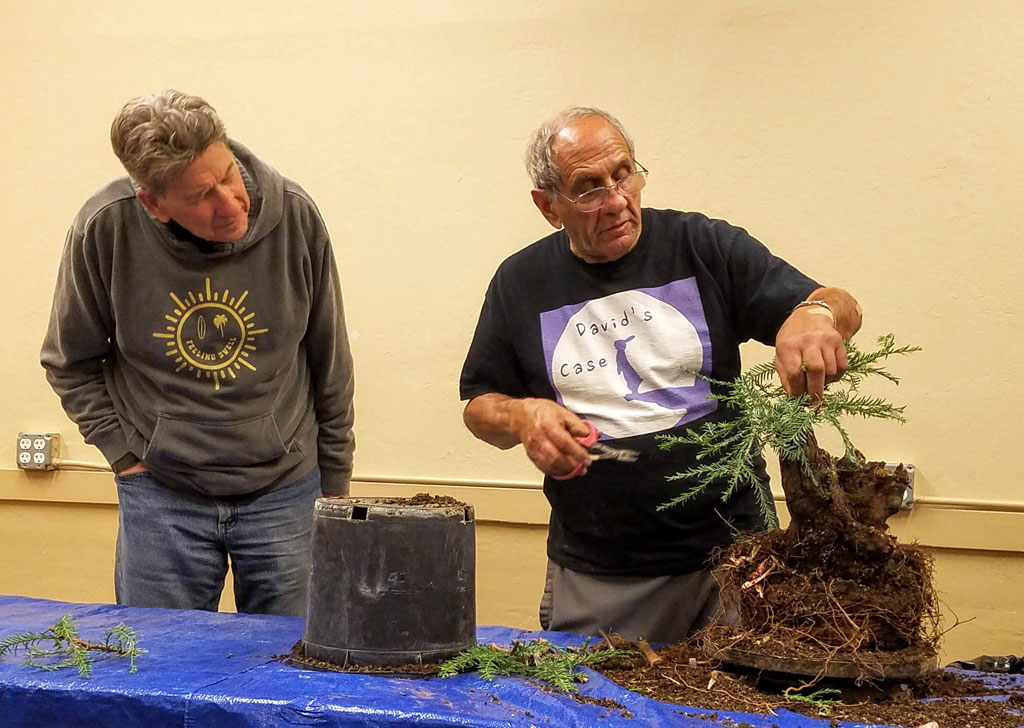
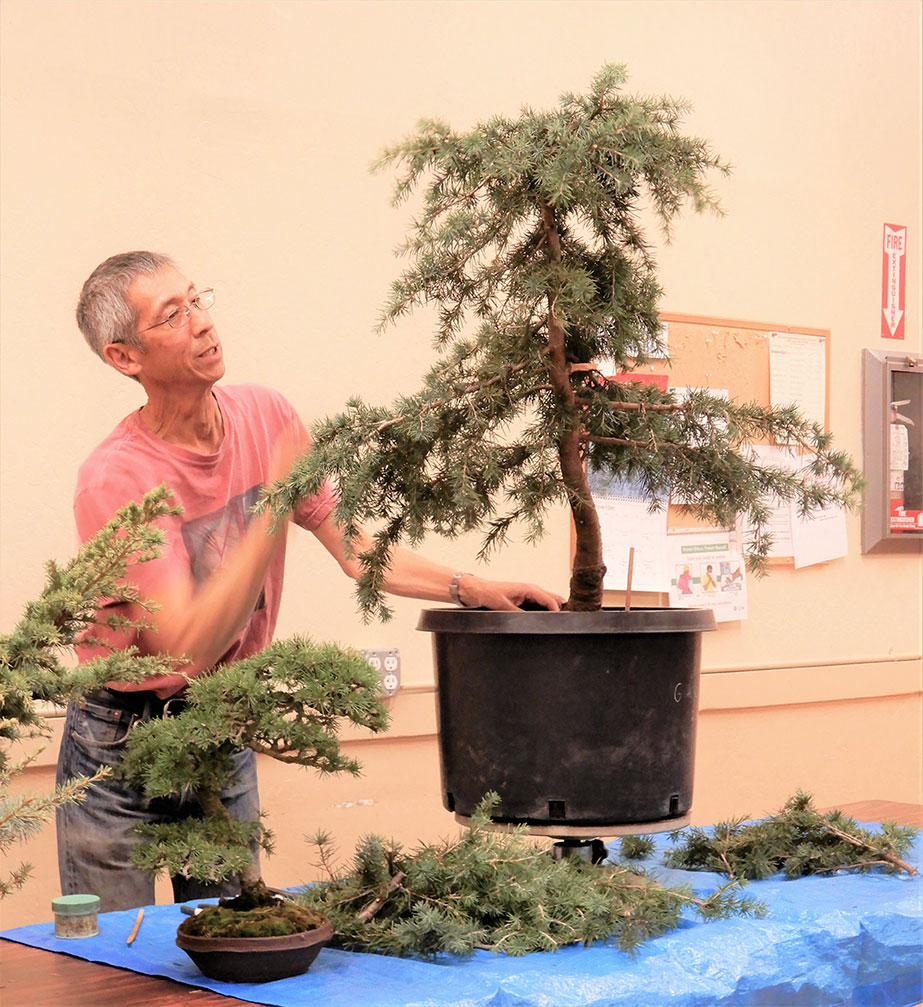
Randall began work on the Deodar cedar by removing some obvious unwanted and small branches before getting the audience to help choose the front. As that was being discussed, he got a few gasps as he casually removed another, rather large branch–one that was too large for how high on the trunk it was, he was moved to explain.

Randall pointed out that he was leaving a lot of branch stumps. He was doing this, he explained, because the bark on this variety does not callous over wounds very quickly or very well, so he didn’t want to leave the tree with a trunk that would look like Swiss cheese for months or even years to come. He said that the winner can cut the stumps off slowly over time, but Randall’s inclination was to simply jiin them. He stripped a couple of the stumps of their bark to demonstrate how that would look.

Getting back to the topic of choosing the front of the tree, Randall concluded that there were two potential options. The one with more nebari would be ideal, but would require tilting the tree to get the apex aiming back toward the viewer, one of the most basic features of a good bonsai.

There was a question from the audience regarding cones growing on bonsai cedars. Randall said that once you get a cone, typically on a little “peg” off a branch, that little growth peg will never develop further with or without the cone, so you might as well remove it to conserve the tree’s energy.

As he began to wire the tree, Randall acknowledged that much of what he wired at that time would most likely be removed as the tree matured, but he saw no reason to avoid making the tree look nicer, and is generally the type of person who likes to mess around with a tree as much as possible at every stage. And finally, as if to demonstrate that nobody is perfect at wiring, Randall admitted that one of the branches he wired cracked while he was bending it. But what makes him an expert is that he made sure to leave some extra branches during the pruning stage. He said he always leaves extra branches on developing cedars because they can be quite brittle.

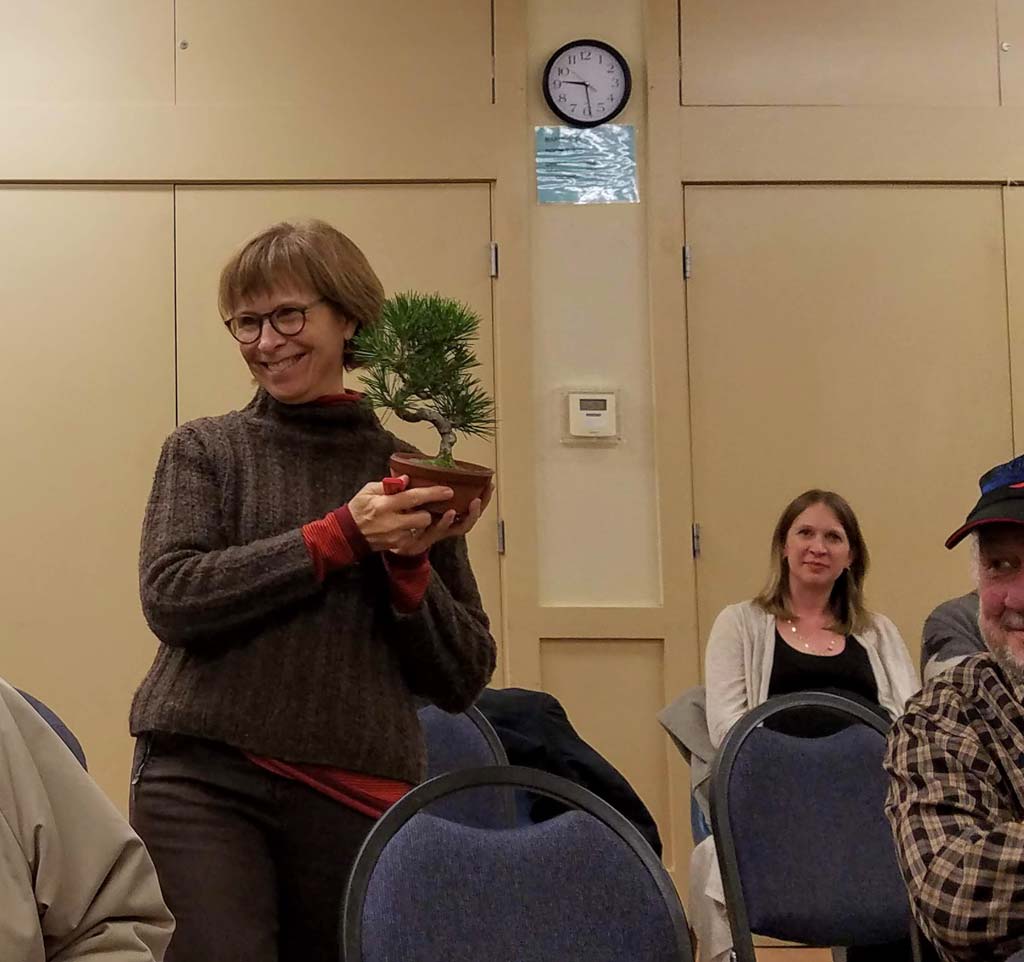
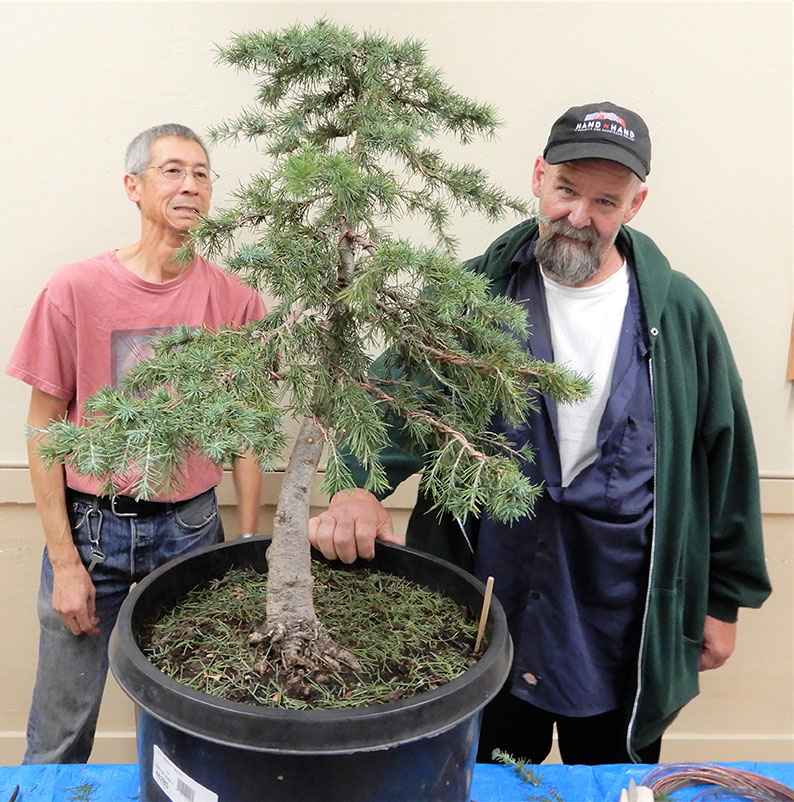
The tree was won by one of our newer members, with a remarkably similar name to Randall’s: Randy Lee Cupp. Congratulations and enjoy the tree, Randy! Be sure to bring the tree back in the future to show us its progress.

– David Eichhorn

Photos courtesy of George Haas

Posted in Meeting Recap | Leave a comment

Bonsai work to do in May

The following information and more can be found on the web site established by Peter Tea at https://www.ptbonsai.com/

Now that May is here, it’s time to get back to work on our deciduous and broad leaf evergreen Bonsai. Most of our deciduous and broad leaf evergreens’ foliage has now hardened off which is one of the signs we look for before we wire, style and cut our Bonsai.

Do you remember the other three things we look for?

  1. General overall growth of our bonsai (Bonsai getting bushy)
  2. Runners of the terminal ends of branches
  3. Foliage has hardened off

If you plan to wire/style and cut your Bonsai, be sure that they are showing the above three signs.

Getting Busy with Deciduous

From now till November is the busy season for deciduous and broad leaf evergreens. These trees are not necessarily labor intensive but time sensitive. Deciduous or broad leaf evergreen Bonsai can grow fast, you may be working on them several times during the growing season. Fast growing Bonsai also thicken fast, so if wire is applied to the branch, keep an eye out or the branch will grow over the wire. Generally, I never keep wire on a deciduous tree for more than a year and have removed wire as soon as within three weeks of application.

When is the right time you ask? If a branch needs thickening, then let it grow, if the branch is thick enough, then cut them back to create division.

Generally, deciduous and broad leave evergreens can be cut/thin/styled this month. An exception can be cork bark oak. They start to leaf out later in the spring and tend to be worked on more at the end of May or even June.

Fast vs. Slow Growing Bonsai

It’s important to understand that working with Bonsai that grows fast, requires a lot more of our time, whereas Bonsai that grows slow requires less of our time. The benefits of a fast growing tree is that you can develop the tree quickly into Bonsai whereas slower growing trees take much longer to develop into Bonsai.  For example, a Chinese elm can be refined much faster than a beech. Knowing how much time you have to spend on your Bonsai may cause you to select specific species to work with.

Defoliation and Some Misconceptions:

First off, not every deciduous tree needs to be defoliated. There are also species out there that will not take kindly to defoliation at all (e.g. hornbeam, beech, certain varieties of Japanese maple), especially if the defoliation is complete. Defoliation isn’t only done on deciduous trees either. There are other broad leaf evergreens that can take defoliation (oaks, silverberry and ficus are a few examples).

So, what is Defoliation and what does it do for us?

  1. Weakens the defoliated area
  2. New Leaves will be smaller
  3. Easier to wire branches
  4. Maintain (NOT Create) Ramification (We’ll discuss this more at the workshop)

Those are the four main reasons why we choose to defoliate. If your current goals don’t match up with any of the four reasons, then don’t defoliate.

Example: We want a branch to grow out and get stronger. We don’t defoliate that branch because it will slow the growth down.

Misconceptions: Cutting back vs. Defoliation

The biggest misconception to defoliation is that it will give you back budding. Back budding is not caused by defoliation, but by the cutting back of branches. We can cut the tree back without defoliating and back budding will occur. Keep defoliation and cutting back into two separate categories to help ease the understanding of defoliation.

Wiring

If you plan on wiring your trees this month, be sure to bring the proper wire size ranges. Aluminum wire should be used for deciduous and broadleaf evergreens, whereas copper should be used for conifers. Ideally you should have a set of aluminum wire in the following sizes: 1mm, 1.5mm, 2.0mm, 2.5mm, 3mm, 3.5mm.

Watering

As always, be aware of how wet or dry your trees are and water accordingly. Recognize which trees like water (deciduous) and which trees don’t like water (high mountain pines). Training your eyes and understanding your tree’s water consumption rate will help you catch any problems that arises. You may notice that a tree that normally takes a lot of water isn’t taking as much anymore. Is there a problem developing or is it because the tree was recently cut back? If you see these things early, you can make adjustments that will help your tree continuing to growth healthy.

Posted in Misc | Leave a comment

October 2019: John Thompson on Oaks

John Thompson, an arborist, bonsai enthusiast, and oak specialist who has worked with trees since the ’80s, gave the Marin Bonsai Club its first oak demonstration in eight years this October, and it was well worth the wait.

John was kind enough to provide everybody in the audience with a cardstock copy of what he calls his “Toolbox,” a copy of which is included here. John said he has developed this “cheat-sheet” of sorts throughout his time as a bonsai enthusiast and always refers back to it when in doubt regarding what needs to be done next with a particular tree. He invites and encourages us to do the same. Much of what is there will be familiar to anyone who has attended past Marin Bonsai lectures by Peter Tea or Jonas Dupuich. As John proceeded, he loosely followed the outline of his Toolbox.

As he began to thin branches on the demo tree, John pointed out more of the features of his Toolbox handout. The far right of the handout outlines important dates for timing various types of tree work, including some general reminders about pinching and wiring. The middle part of the handout covers all the different types of tree manipulations, the part that is most like Peter Tea’s keystone summary of the different types of manipulation. John nicely divides them into those methods that affect the whole tree and those we use to work on specific, targeted areas.

While introducing two of the three trees he brought, all valley oaks, John talked a bit about all the different varieties of oak available in California and some of the ways oaks are unique. He pointed out that while conifer branches initially tend to point downward and deciduous branches tend to point upward, oaks are different because their branches can go all over, as anyone who has driven on Highway 101 between Novato and Petaluma knows. Oaks also tend to be wider than they are tall. All these factors must be considered to produce a realistic likeness in an oak bonsai.

An interesting side note John made involved collecting cork bark oaks (one of his favorites!) from wine vintners, who use them to make . . . you guessed it, corks. John emphasized how important it is to get trees that have been discarded in their first ten years of life. That’s because the vintners like their bark straight and less gnarled by branch growth and such. To get them that way, they strip all the original bark and lower branches after ten years of growth, so that what grows back is less gnarled and more conducive to compact, straight-grained corks. Definitely not a good look for bonsai, though!

The third tree John brought with him was the demo tree, one he purchased from a Calaveras nursery almost a year prior. He put its age at about 8 to 9 years old. As he began to assess the tree to determine where to start working on it, he drew our attention to the top left side of his Toolbox handout, where it outlines the stages of work that can be done to a tree. Peter Tea fans will recognize the priority: The trunk is always considered first. Only once that is close to where it needs to be can we start thinking about how to make the primary branches better, then secondary branches, and so forth. Failing to follow this priority can lead to wasted work done prematurely on areas that will end up having to be chopped off to correct a higher priority area. John already knew that the tree had a good trunk, that’s why he chose it, so he proceeded to choose the primary branches so he could begin to thin the others away. He also acknowledged that we need to choose a front for the tree, but moved on without involving the audience in that decision.

As his work on the demo tree progressed, John continued to give general bonsai and specific oak tips. He said that knowing your tree type is important for knowing what you can do to it. Not just knowing things like the fact that deciduous trees are hardwood and cannot be bent as easily as conifers, like pines and junipers. You also should try to get to know the specific characteristics of the species you’re working on so that you can emulate them in your design, like the fact that the interior growth areas of white oaks tend to be bare.

While assessing the demo tree and contemplating what to do with the bushy top, John reiterated a point we have learned many times over from Peter Tea, which is that balancing the energy of a bonsai often means close-cropping the top and letting the bottom branches go for awhile. As a counterpoint, he also pointed out that in nature, older deciduous and evergreen trees are more rounded on top, whereas younger trees are pointier, so to depict age in our bonsai, we should develop a full canopy. Choosing the correct approach for the demo tree proved a little tricky, since its canopy was somewhat divided into a few separate rounded crowns. Rather than sacrifice any of the tops, John decided to trim a little heavier (creating shorter branches) between the different crowned sections, to help differentiate them. That would allow the winner of the tree to develop all of those tops, either for later selection of the apex, or to induce ramification in order to combine all the tops into one canopy, all while satisfying the need to encourage energy redistribution to the lower parts of the tree.

So John trimmed the multiple crowns pretty short, to keep them suppressed. While doing that, he reminded us to cut back shorter than what we actually want when doing major pruning, to leave room for branch division and ramification out to the point where we want our final tree outline to be. In the end, the demo tree was encouraged to grow outward more, upward less. Not too much was trimmed off, so this tree could be repotted this coming spring. John finished with a quick description of how that process should proceed for an oak recently purchased from a nursery. He said he usually begins by chopping off the bottom half of the existing nursery soil. Then, next repotting, only replace half of the soil, horizontally. Two years later, clear and replace the other half, similar to how we repot pines.

The demo tree was won by Chris Ross, who promised to show us the tree’s progress at later club meetings.

– David Eichhorn

Posted in Meeting Recap | Leave a comment

Repotting season is in full swing!

Repotting is important to the health of our trees and should be done this time of year on most bonsai, except tropical varieties. If you aren’t sure whether your tree needs repotting this year bring it in for recommendations from our workshop instructors.

For more repotting info, be sure to read the February edition of The Taskmaster.

Below are photos from the first of two repotting workshops in February. The second workshop is scheduled for February 18.

Photos by George Haas

Posted in Workshop Recap | Leave a comment

MBC 2020 Schedule of Programs

Here’s what we have planned for 2020. Eight new demonstrations, some returning favorite artists/instructors and some new faces. Topics will include Shohin bonsai, redwoods, olives, trident maple, tropical indoors/outdoors, Monterey cypress, and Princess persimmon. Peter Tea will return with a new program – an evaluation of 10 lucky members’ bonsai.

Posted in Events | Leave a comment