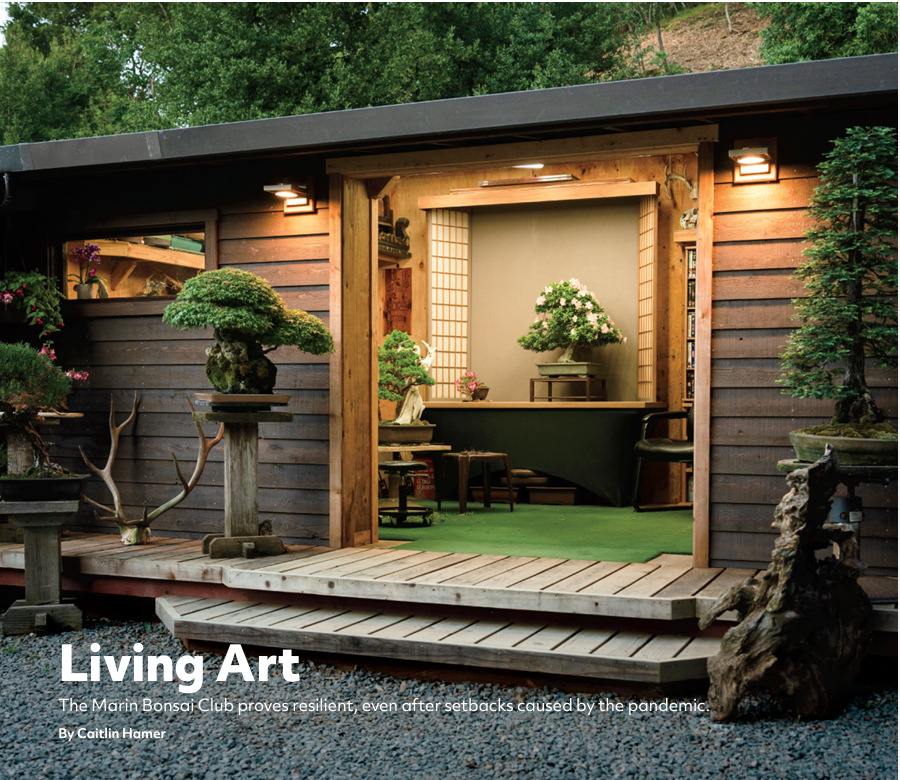
Earlier this year, we reached out to Casey Gillespie, creative director of Marin Living Magazine to see if we could do some community outreach. Casey put us in touch with Caitlin Hamer, Associate Editor of Marin Living Magazine to interview a few club members about the bonsai scene in Marin.
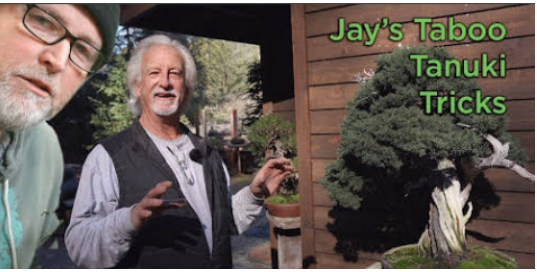
Eric Schrader of Bonsaify recently posted a fantastic video on tanuki featuring our long-time member Jay McDonald.
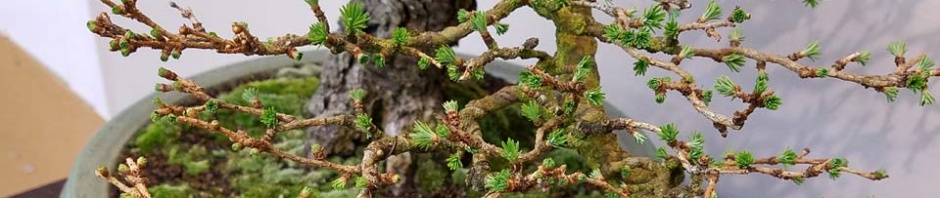
Tanuki is Japanese for a racoon-dog who has a reputation of being a trickster. In bonsai, it refers to trees that have been grafted onto a dead trunk. It allows us to make a young tree look much older than it is.
Jay shows us how he creates one with some very old and dramatic deadwood and a Juniper. Check out the video!
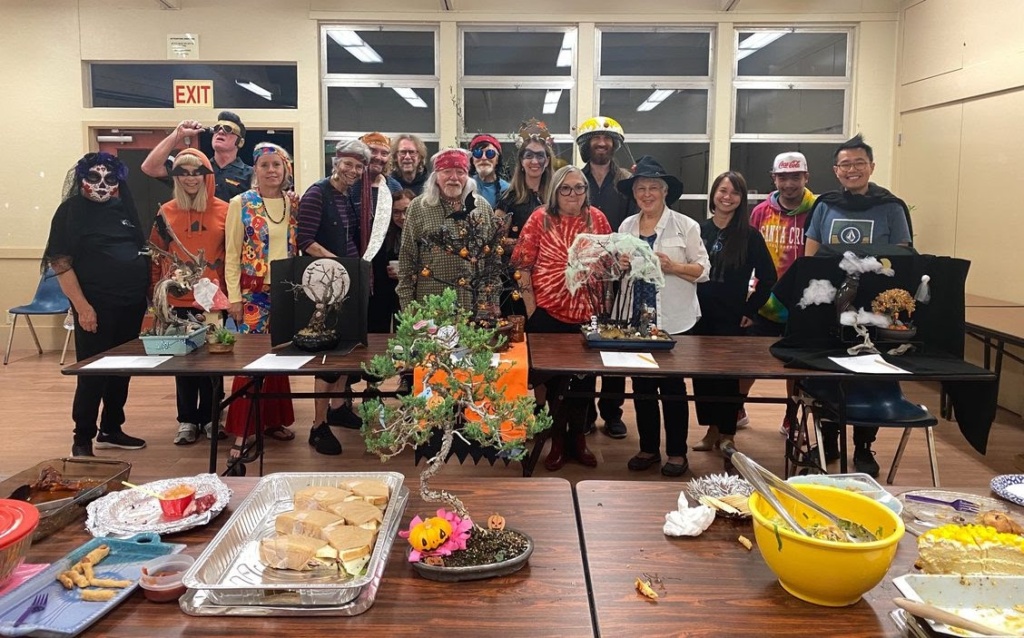
We’re starting at 6pm on Tuesday October 18 for the Halloween Dinner so that we have dinner closer to normal dinner hour times. Here’s the game plan.
6pm: Set up. 6:30pm: Dinner begins, Silent Auction begins. 7:15pm: Spooky Tree Winners Announced. Prizes awarded. 7:30pm: Silent Auction Ends. Winners to pay cashier for auction winnings. 8pm-end: Clean up.
Take a look at your inventory. Those extra pots, tools, trees that could go to a new home. Bring them for the silent auction. Complete the silent auction form for each item and place next to said item.
Costumes encouraged! Spooky trees desired! Food and drinks are a must! Auction items welcome!
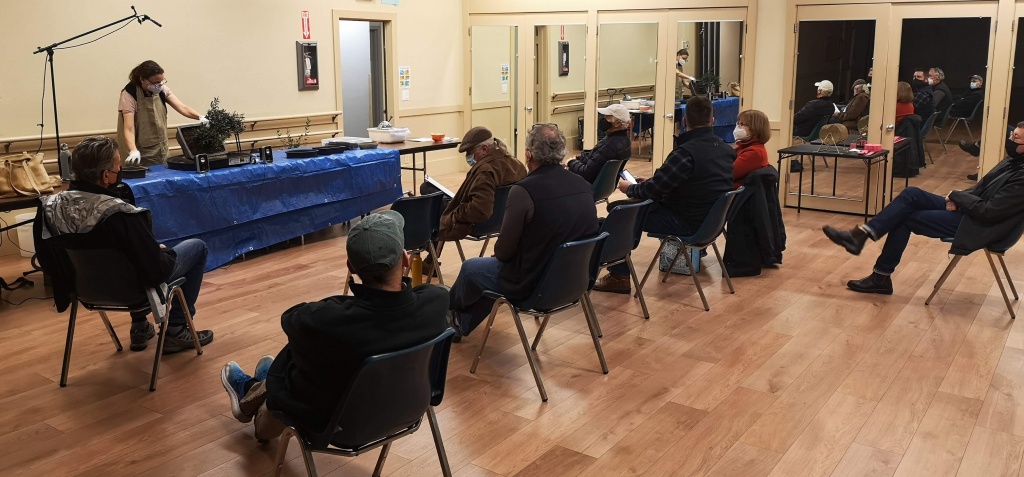
MARIN BONSAI CLUB was pleased and fortunate to have a presentation recently by Valerie Monroe on repotting techniques. Valerie has been a bonsai artist for many years, and is always in demand because of her knowledge, expertise, and her thorough and professional presentation methods.
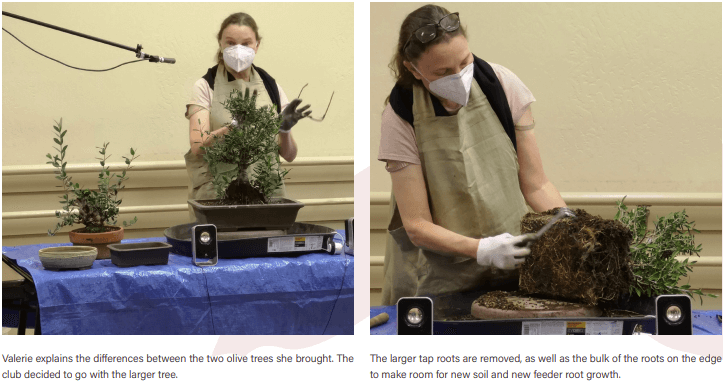
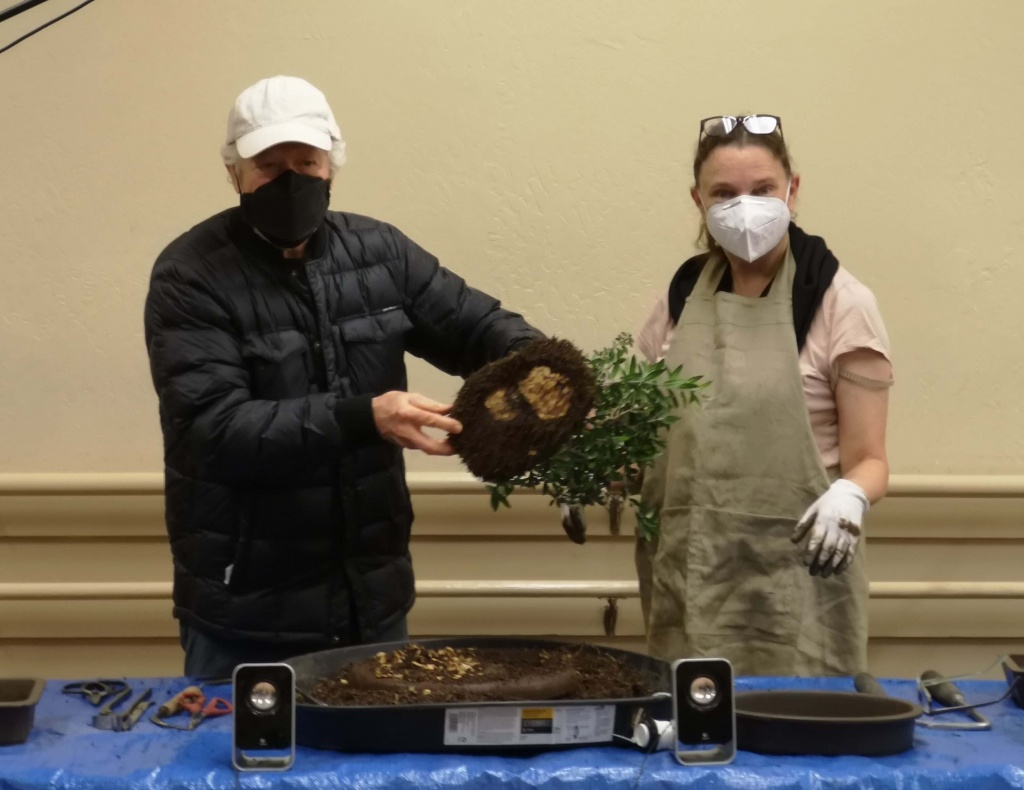
In this case, she brought two trees and a selection of bonsai pots for each. One tree was short and wide, the other was taller and thinner, but with a substantial base and nebari. The tree was to be raffled off at the end of the meeting, and the club members were allowed to vote on which tree to repot. The taller tree was selected and a possible pot as well. Since the pots had already been prepared with screens secured to the drain holes and two-millimeter wires ready to tie the trees down, Valerie got right down to business cutting the tree out of the old pot.
REMOVING THE TREE She used a rigid curved root knife made specifically for the purpose to cut through the dirt and roots all the way around the perimeter of the pot, and then turned the pot on its edge so that the tree was parallel to the floor. A little gentle downward pressure on the trunk about midway up the tree tipped the whole root ball neatly out of the pot, and the tree was placed on the table for cleaning and root reduction work. She mentioned that there are several tools designed for this root work—she showed a small rake with three or four short curved tines for soil surface, a chopstick and a small sharp steel hook for circumference root combing and separation, and finally a larger, thicker steel hook for the combing and reduction of the underside of the root ball.
As she worked, she described the steps she was taking as the best way to accomplish a professional repotting. First, gently rake the surface soil from the trunk or nebari out to the edge, raking the old soil and any weeds away without damaging any surface or subsurface roots, because they are an important part of the beauty and aged-looking finished bonsai. This process also helps determine how much root mass to cut off of the underside of the roots. Then tip the top of the tree off the edge of the table or support the trunk on another pot or a box and use a large rake—or preferably a hook—to scrape across the bottom of the root ball while trying to rake in one direction only to expose all the roots and get rid of soil.
A special set of heavy scissors called root shears is the best tool to cut off the down-growing and circling roots exposed and then the perimeter tips, repeating the process until a thin flat pad of roots is all that remains. This allows the pot to be shallower, thus making the tree look more powerful; eliminates down-growing and thicker roots; encourages lateral root growth that eventually widens the nebari (the base) of the tree; and encourages the surface roots to thicken into an older, stronger look.
Valerie added a thin level layer of soil to the pot and set the tree in the correct way: slightly to the side of center and slightly toward the back of the pot, being careful to angle the tree so that the best angle and front are clearly presented to the viewer.
Chris Ross assists Valerie with the removal of a very large taproot. This was necessary to get the tree to fit in the pot.
POTTING THE TREE The pot had two drain holes, so Valerie used two wires strung from beneath the pot from hole to hole the long way and drew them up through the thin layer of soil and the roots and then twisted them on themselves at the root line to secure the tree.
This tree not only had down-growing roots to be cut, but a hardened wood mass bulging below the center of the tree. She had to chew with a knob cutter, scrape with a blade, cut with a knife, and wish for a rotary power tool to reduce it enough to match the thinness of the rest of the root mass and fit it into a pot. The addition of bonsai soil around and into the fringe of roots near the edge of the pot, slowly chopped into place with a gentle hand, a bit of patience and a chopstick completed the program.
Valerie Monroe is an experienced professional as a bonsai artist and as a presenter. In the course of demonstrating the repotting of a tree, she gave us critical information for decisions about pot selection, color, size and shape; tree angle, tree positioning and front selection; facts about tree safety, soils selection, basic timing of pruning for tree design and shaping, differences in requirements for deciduous, evergreen, and conifer trees. It was a comprehensive and informative meeting.